Pillywiggin Postscripts
A Blog for Art, Garden & Nature Enthusiasts
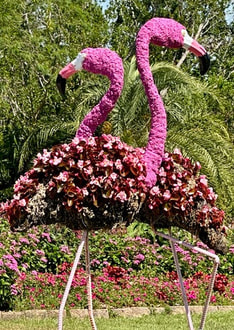
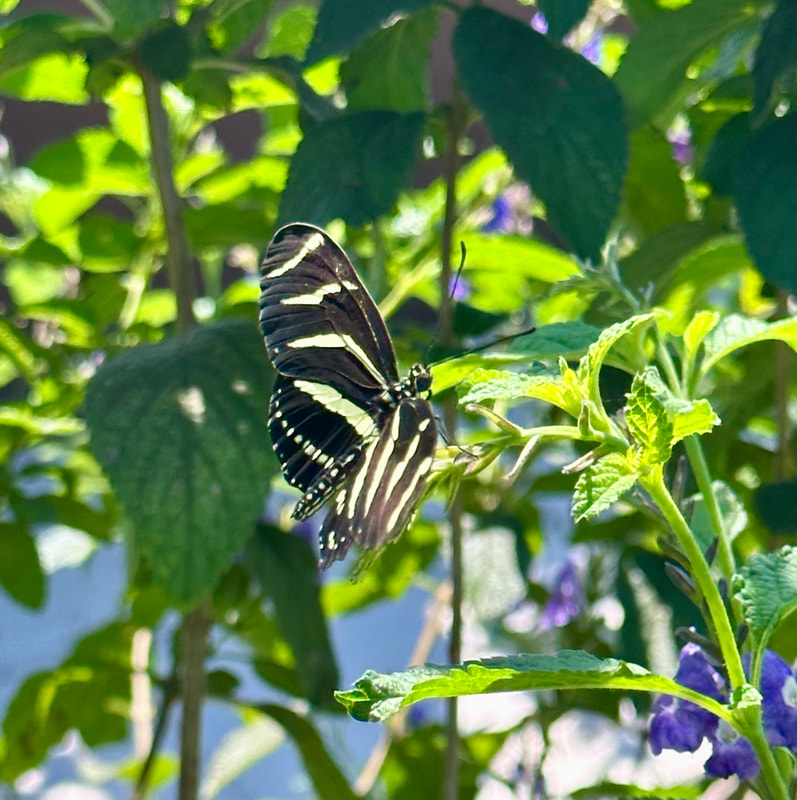
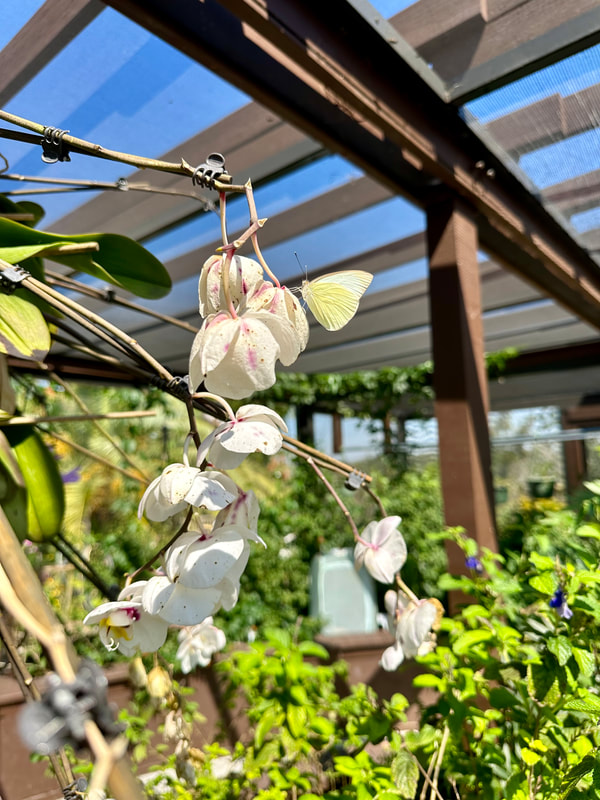
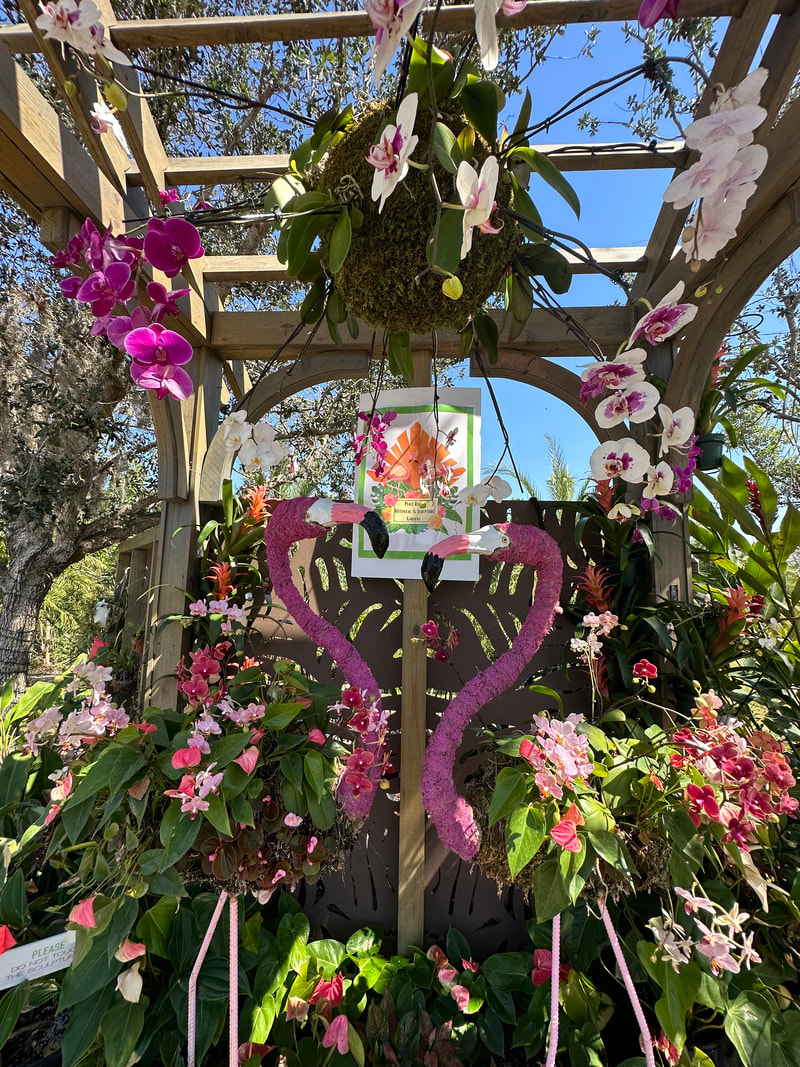
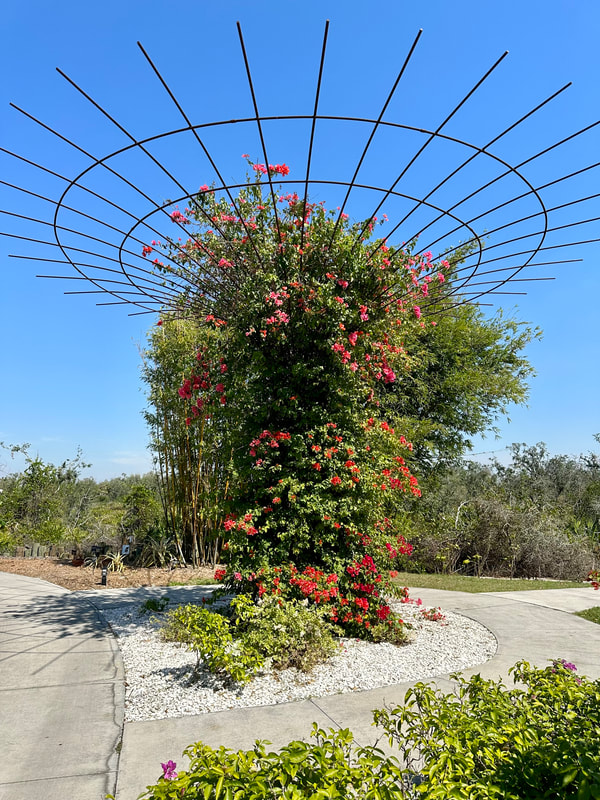
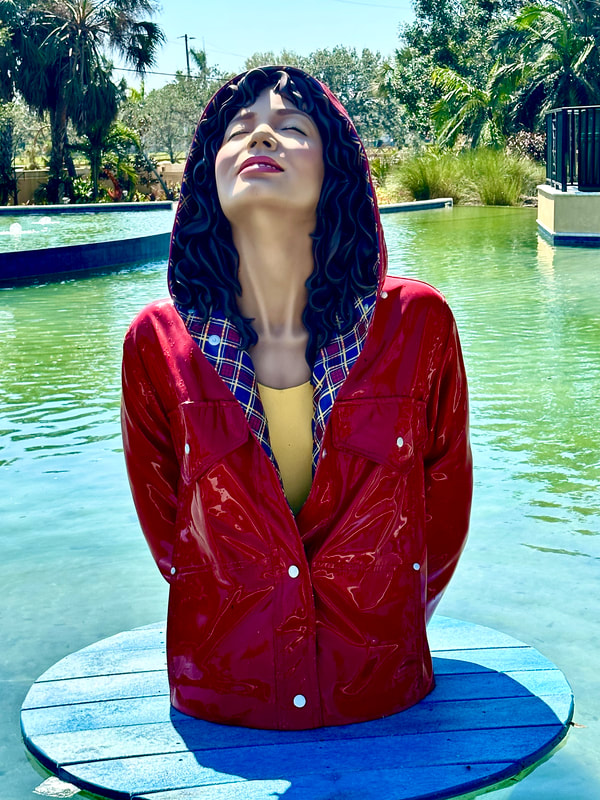
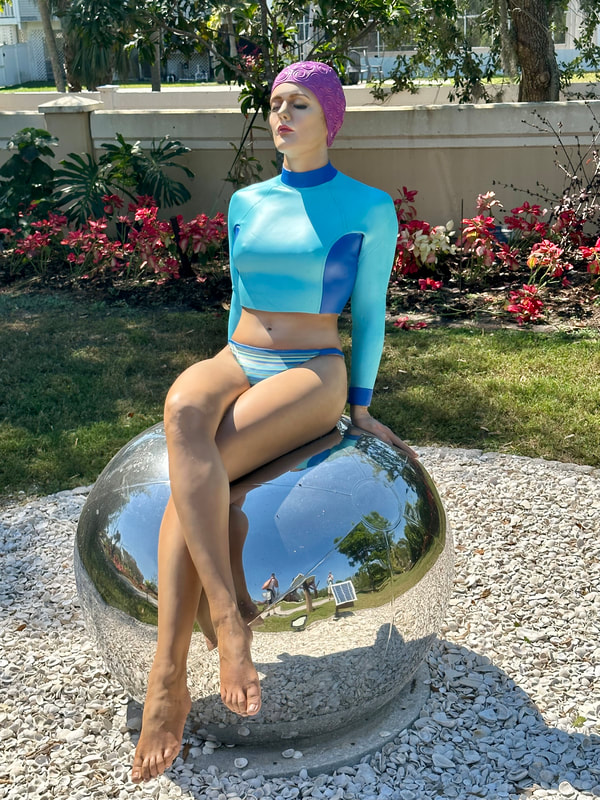
 THE ARTWORK The artwork on display incorporates a wide range of artistic styles using a variety of mediums. I generally prefer more traditional styles of artwork but this collection expanded my appreciation for modern art. The hyper-realistic statues on display absolutely blew me away. They are incredible, interesting and Wow! So realistic. THE BUTTERFLY HOUSE The butterfly house on site is adorable. Butterflies flutter throughout the house making their rounds from blossom to blossom. Colorful signage explains a butterfly's life cycle & you can see it first hand as well. Egg, larva, pupa to adult, all reside inside the Butterfly House. 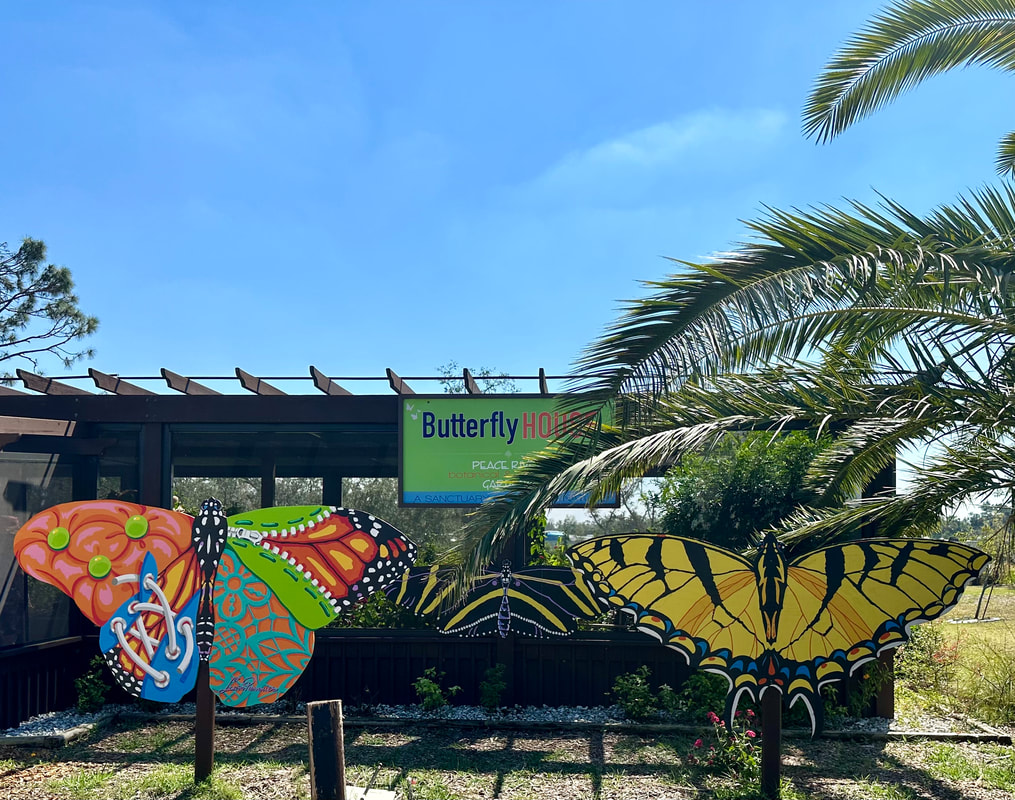 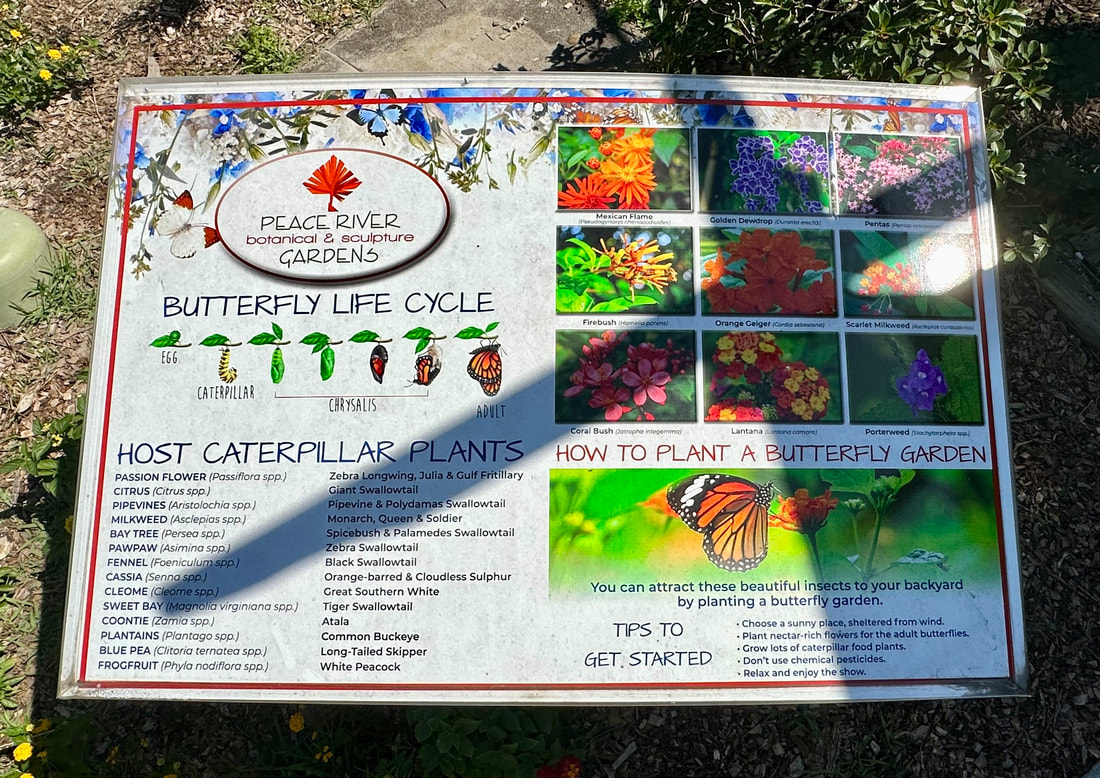 THE BOTANICALS The botanical gardens showcase a variety of plants, trees & shrubberies. I really loved the flamingo topiaries scatter throughout the property. They were so colorful & fun! The gardens contain a great selection of plantings from aquatic plants to arid desert landscapes. They have some of the largest bougainvillea I have ever seen & so many flowering tropical plants. Beautiful vibrant colors everywhere! OUR FAVORITES 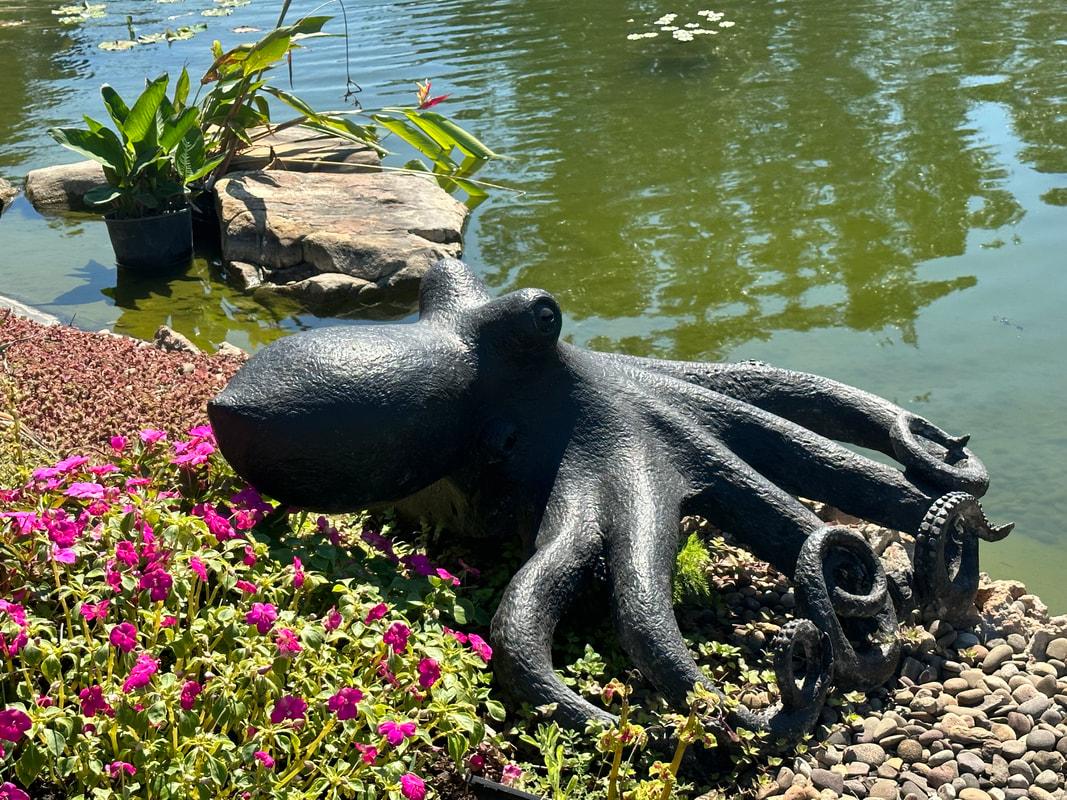 This octopus statue carved from a single piece of Serpentine crystal/stone!
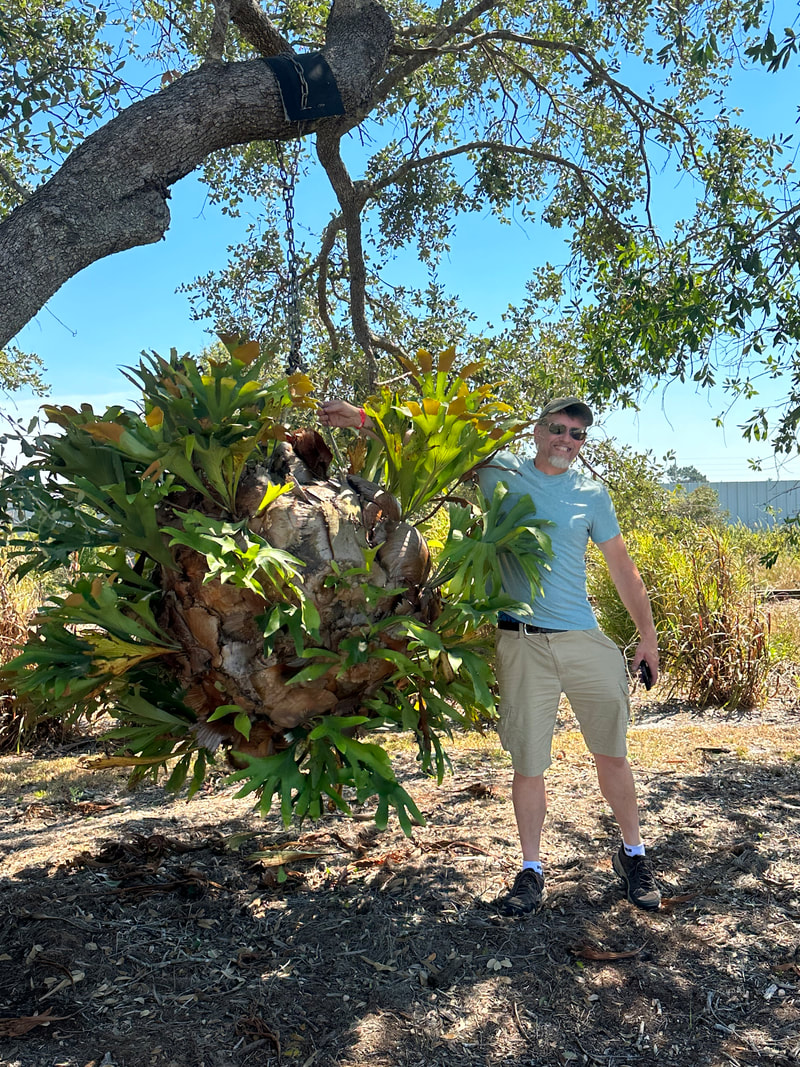
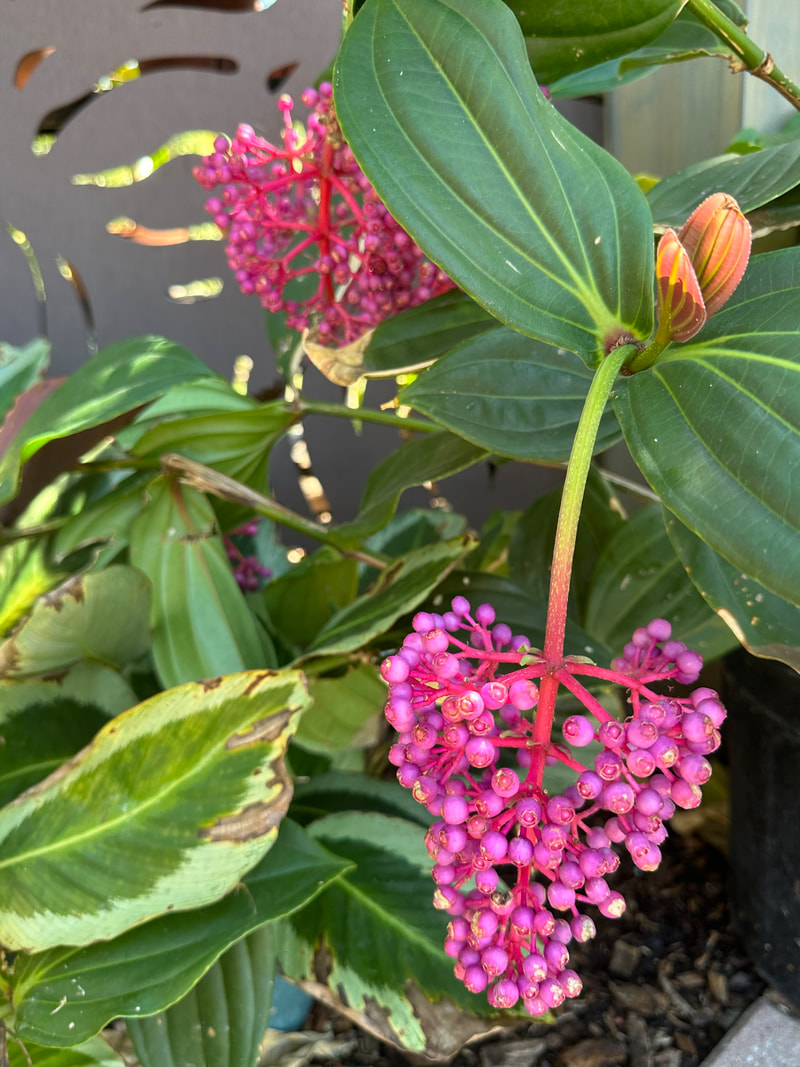
This monster of a Staghorn Fern & pretty little flowering tropical plant.
New York City Slicker & Bibi On The Ball Hyper-Realistic Statues Peace River Botanical & Sculpture Gardens - Punta Gorda, Florida
www.peacerivergardens.org
0 Comments
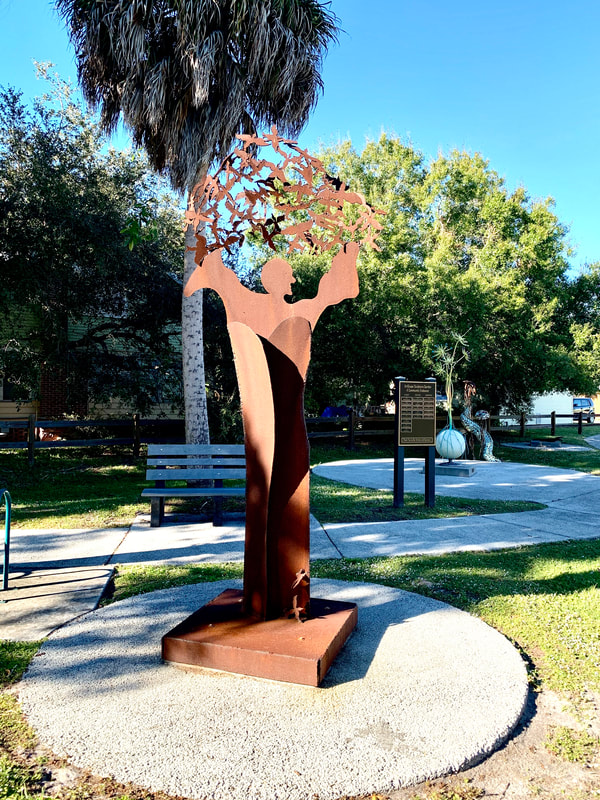
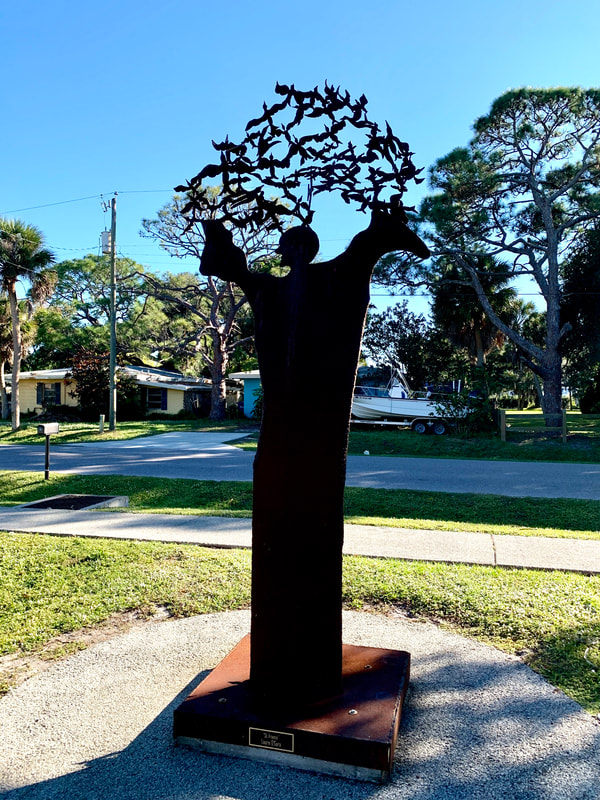
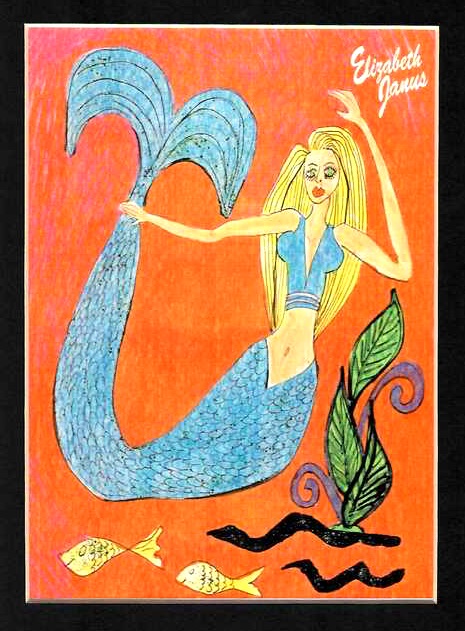
A few blocks from Indian Mound Park we found the Artscape Sculpture Garden. It's a small park tucked into a quiet neighborhood, kinda quirky and very cool. Artscape Sculpture Garden is a joint effort by the artists of the Art Alliance of Lemon Bay and other community groups. Artscape Sculpture Garden is located at 460 W. Green Street in "old" Englewood, Florida. Artscape Sculpture Garden Jason & I are interested in all forms of artistic expression. Of course, not everything fits our personal taste and we don't always understand the message. (Abstract art is usually above my head.) This sculpture garden contained several interesting works but two pieces really spoke to us. "Catch of the Day" Created by Nichole Moranda Catch of the Day - Crab traps filled with the garbage collected from the ocean. The majority is made of plastic. Some items were lost but most of it is discarded trash. This piece isn't pretty. There's nothing attractive about it but it does makes you think. Hopefully, it inspires people to clean up their act. "A New Generation Races for the Surf" Created by Sherry O'Connell A New Generation Races for the Surf was my favorite piece. I love pottery and who doesn't love sea turtles? I really liked the informational panels around the bottom of the sculpture. Loggerhead Turtles are amazing creatures. 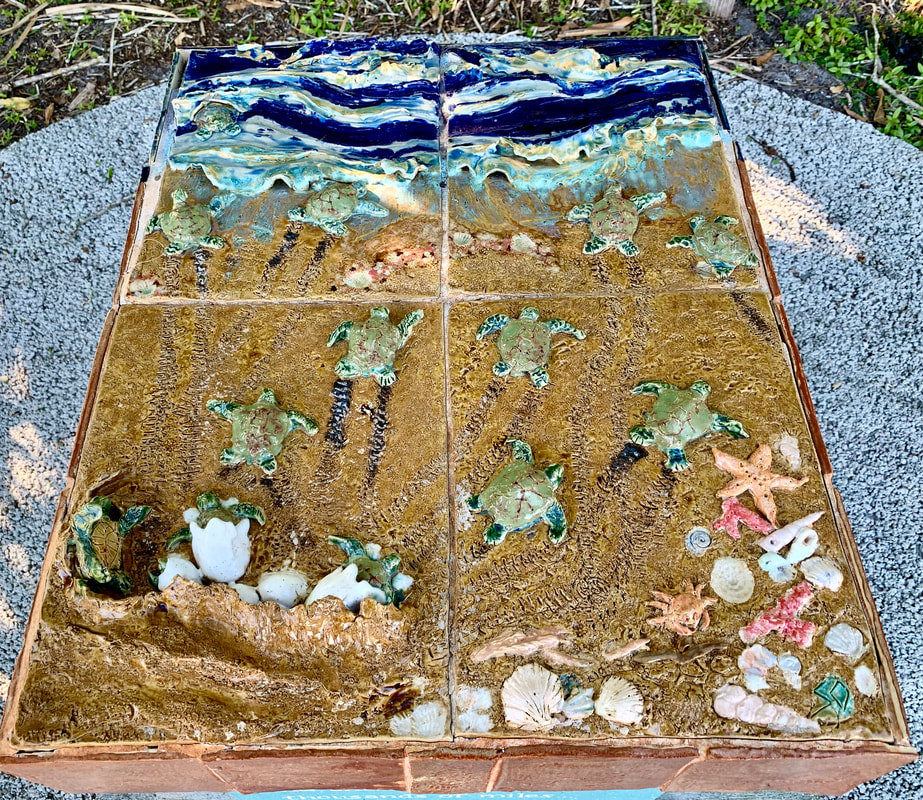 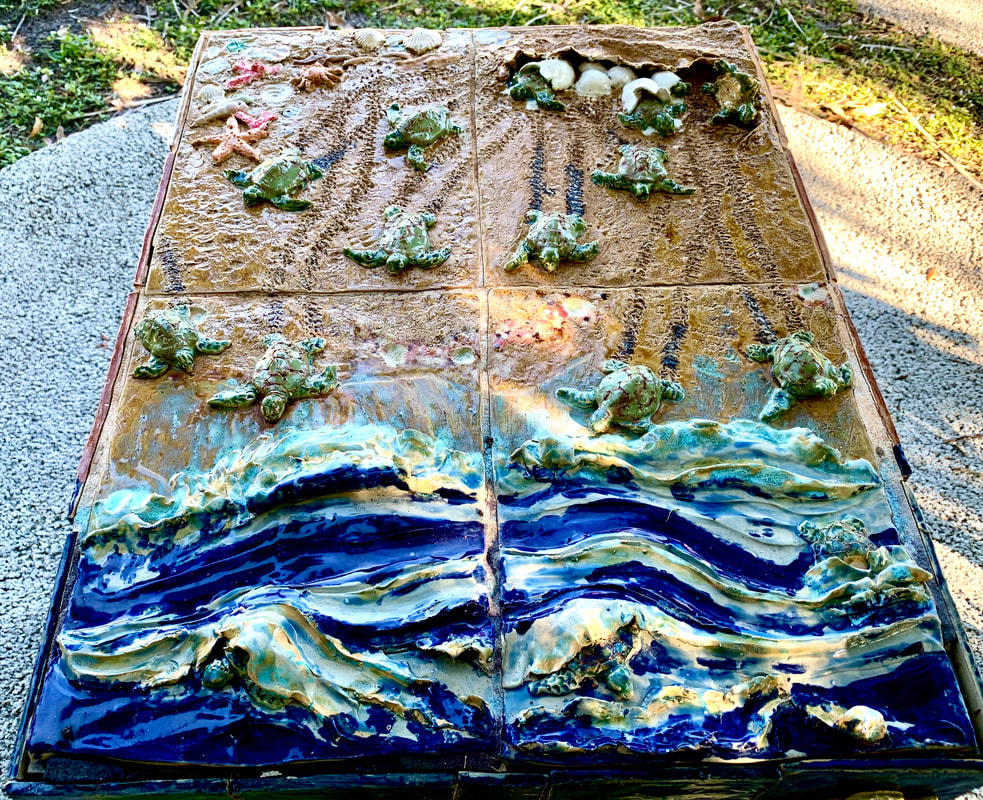 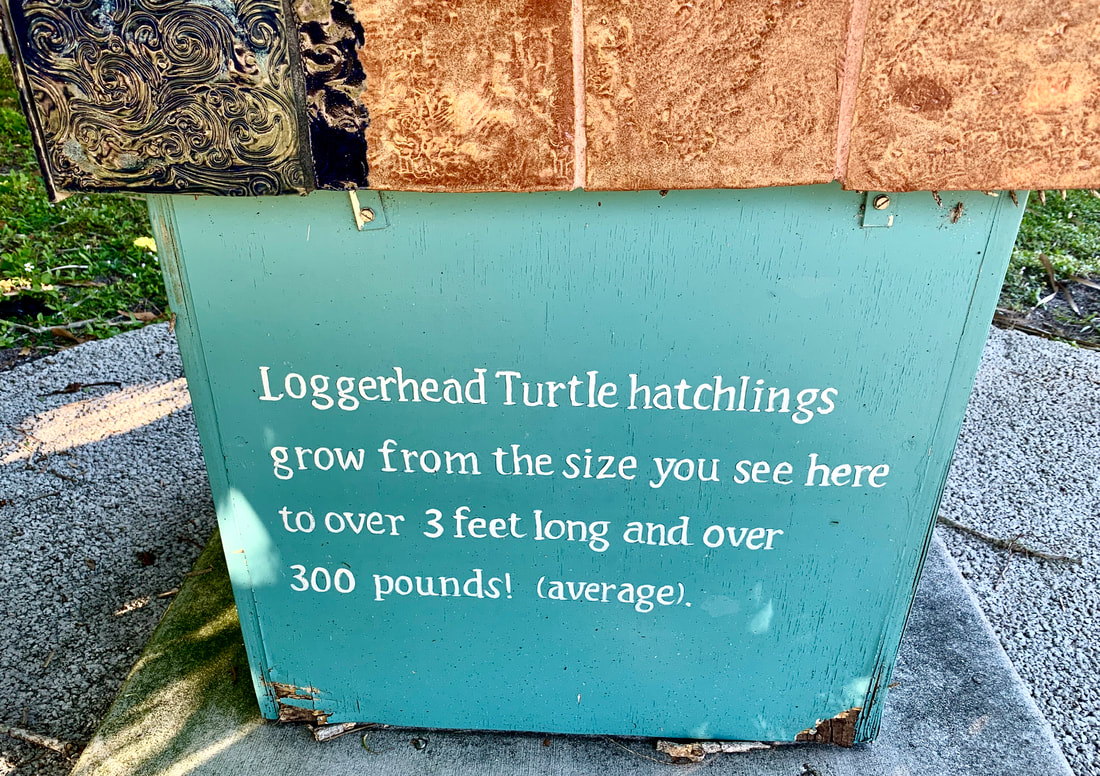 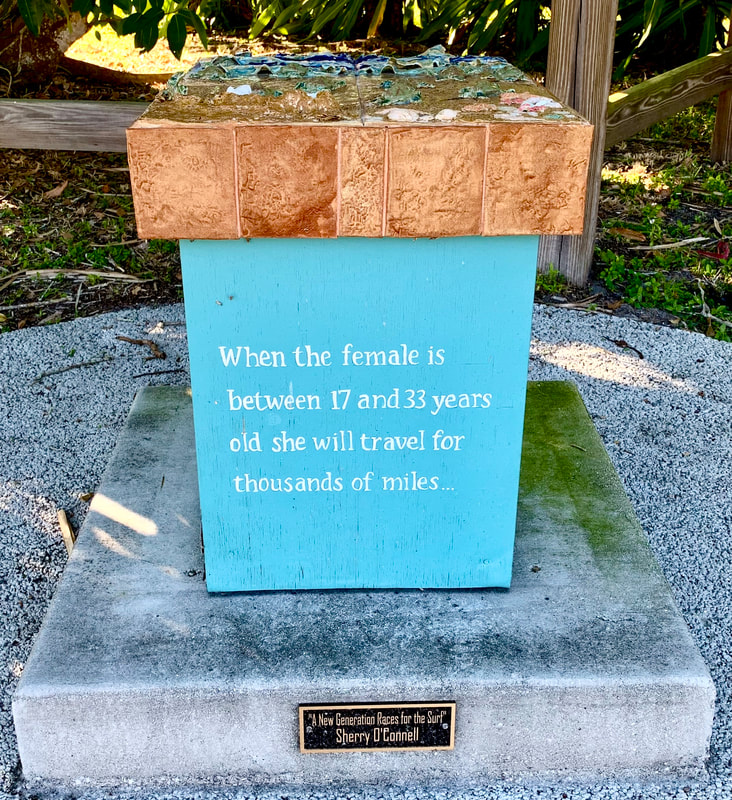 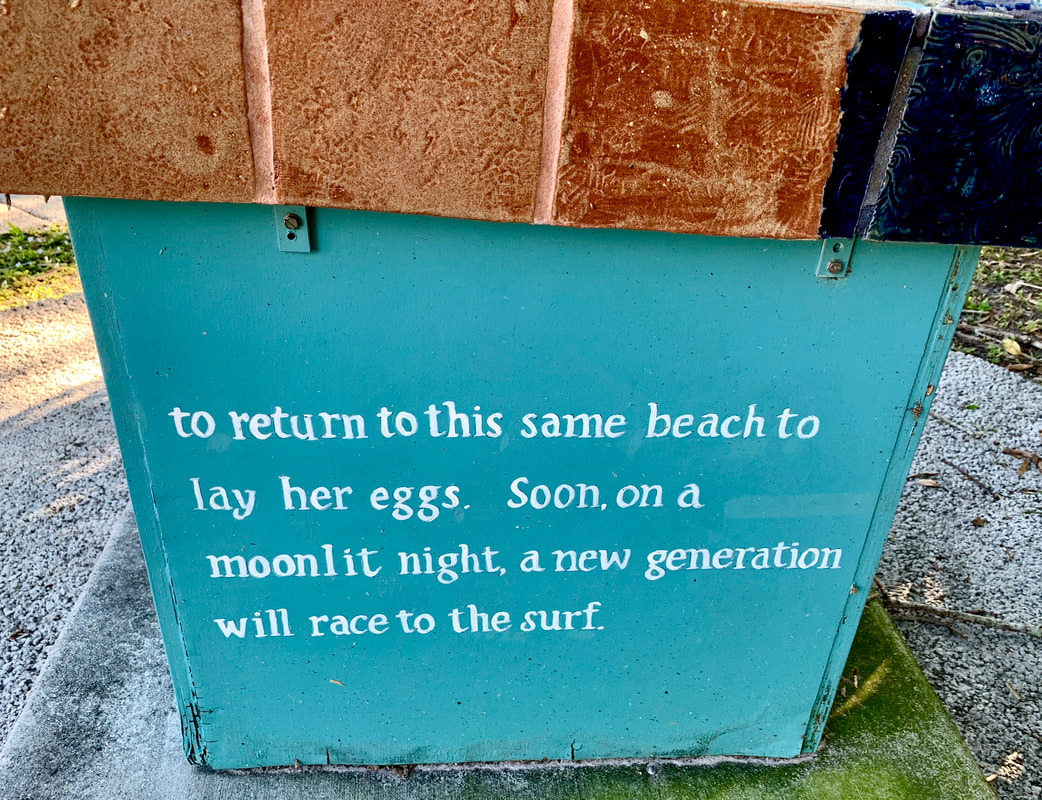 We left the sculpture garden & headed for Dearborn Street. There are several nice artsy-type shops on Dearborn. One had an art studio inside. We popped into all of the stores that were open & grabbed a great cup of joe at Culture Coffee. From there we wandered down the block to Rehab on Dearborn Vintage Gallery. Wow! Rehab is our kind of shop! 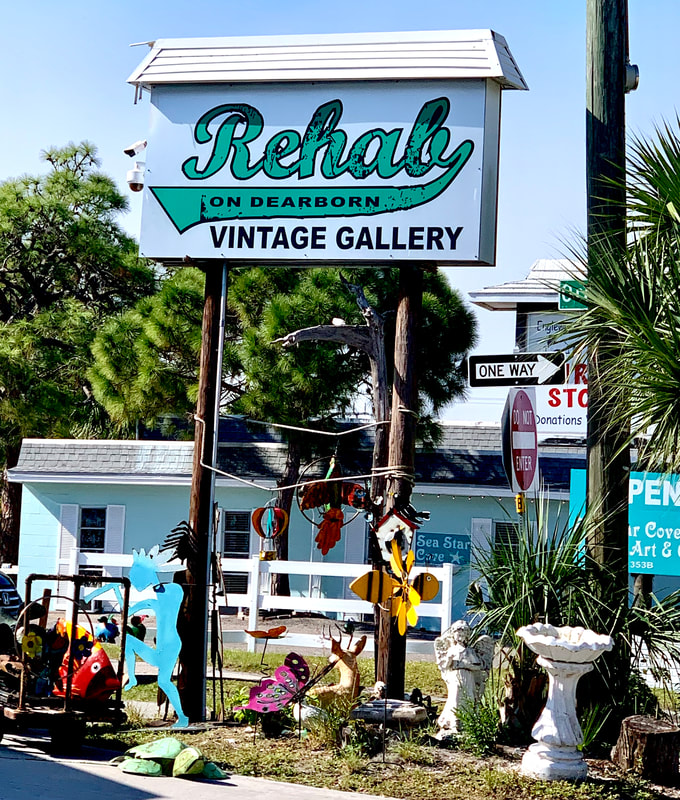 Rehab on Dearborn is a cool, funky shop filled to the brim with art, lawn decor, antiques, up cycled/recycled & salvaged treasures. The owners, Les & Teri, are super nice people. Cool & funky just like their shop. We had a nice conversation with them as we browsed. They relayed the background of the pieces that caught our eye and shared several interesting stories of their own.  Check out Teri's cool car! Yep, she drove it to work. We visited Rehab on Dearborn twice and found things we'd missed the first time around. We left with treasures for ourselves & Grandma Pillywiggin both times. It's a good thing we had the big ol' Roadmaster Wagon! I bought a 3-1/2 foot tall hand-carved wooden statue, 2 metal signs and the fun mermaid prints below by artist Elizabeth James. Artists cards behind the matting say James was born in Poland in 1948 and currently resides in Wisconsin Dells, Wisconsin.
If you're in the area, stop in & browse Rehab on Dearborn and check out their Facebook page. Be sure mention the Pillywiggins sent you. Tell them we said hello. We'll be back to shop again next winter! 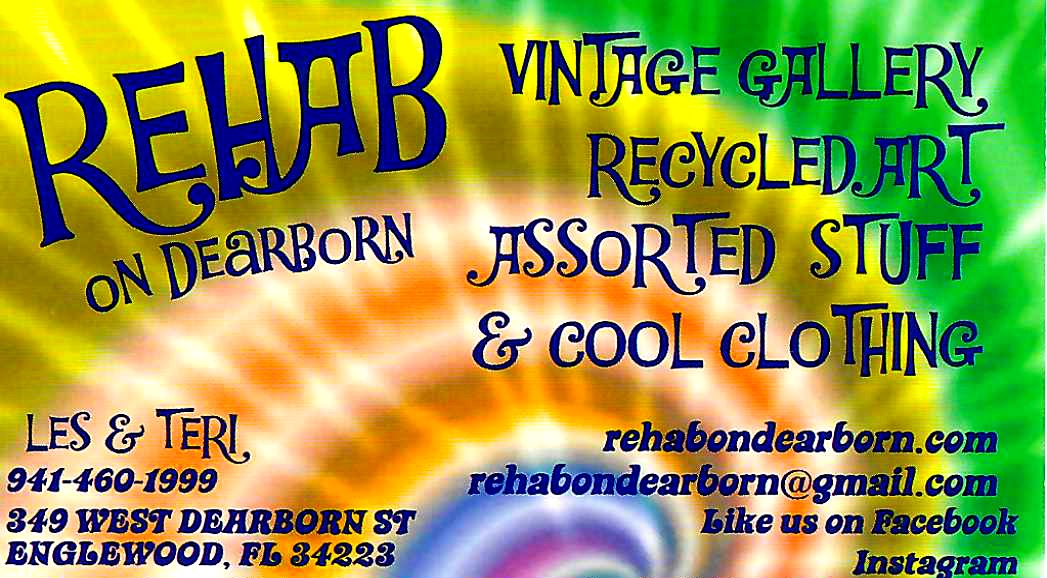 We'll be exploring the surrounding areas next so hop in & buckle up!
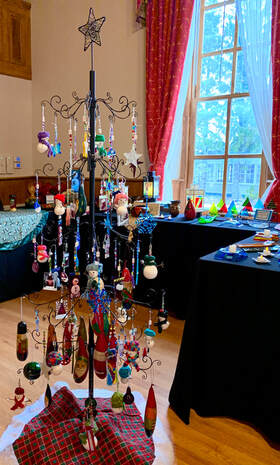
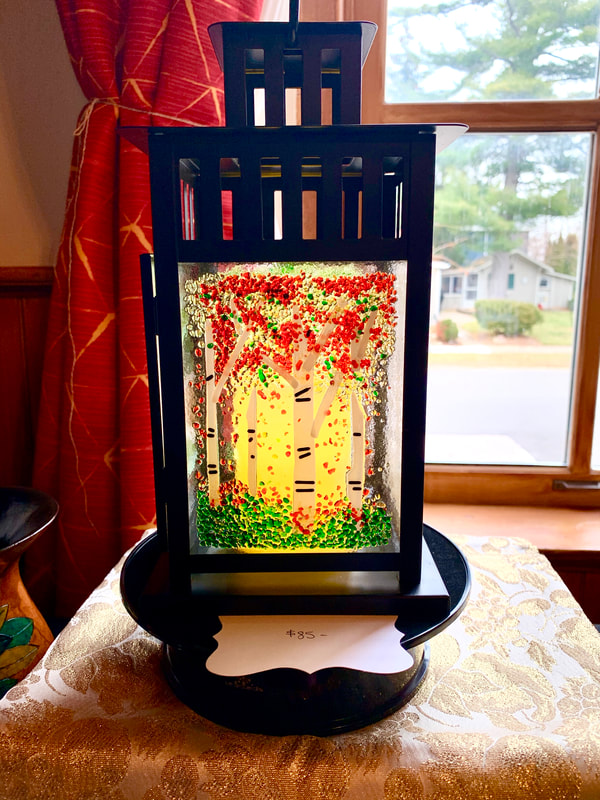
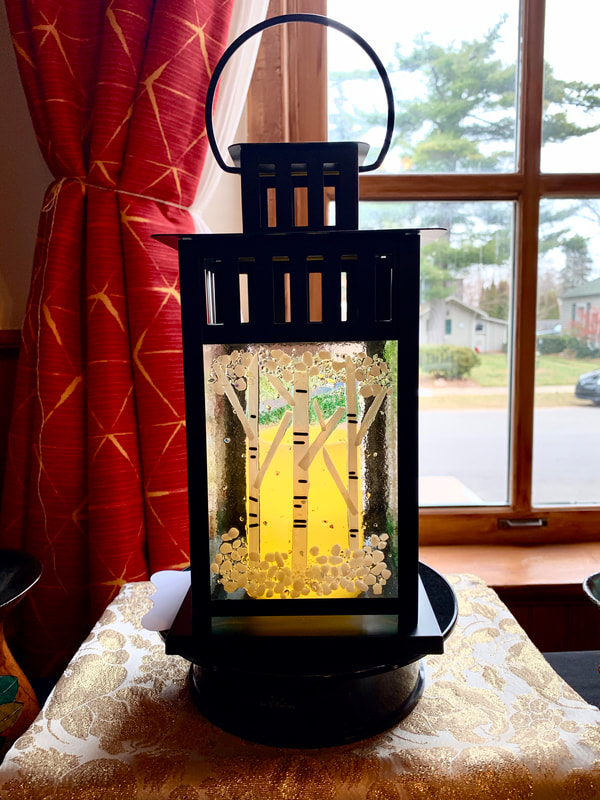
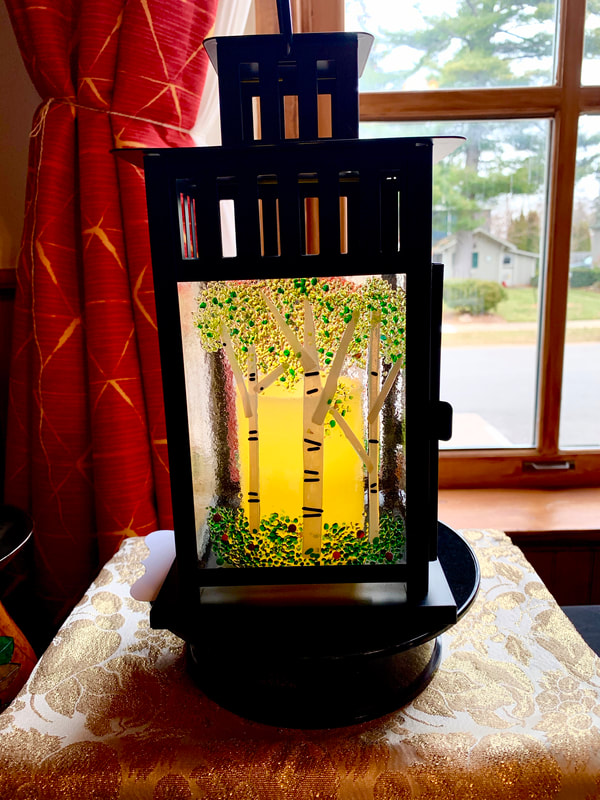
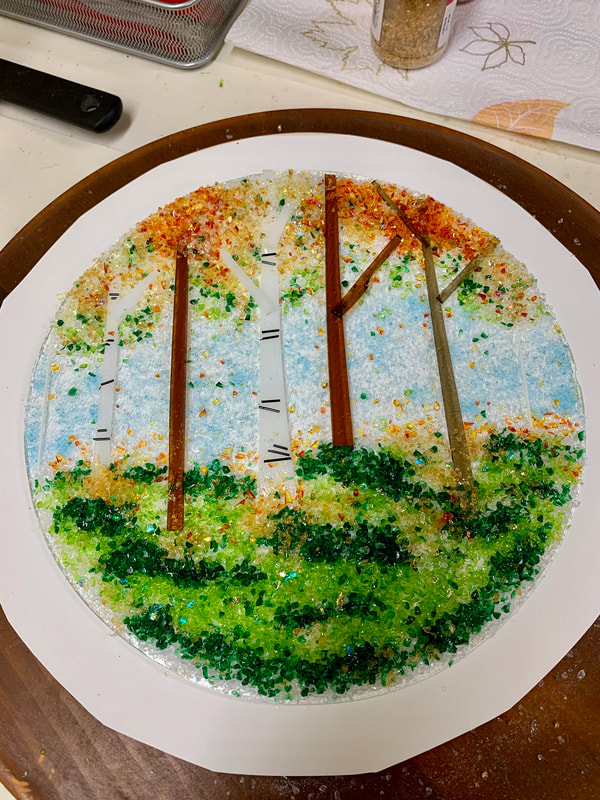
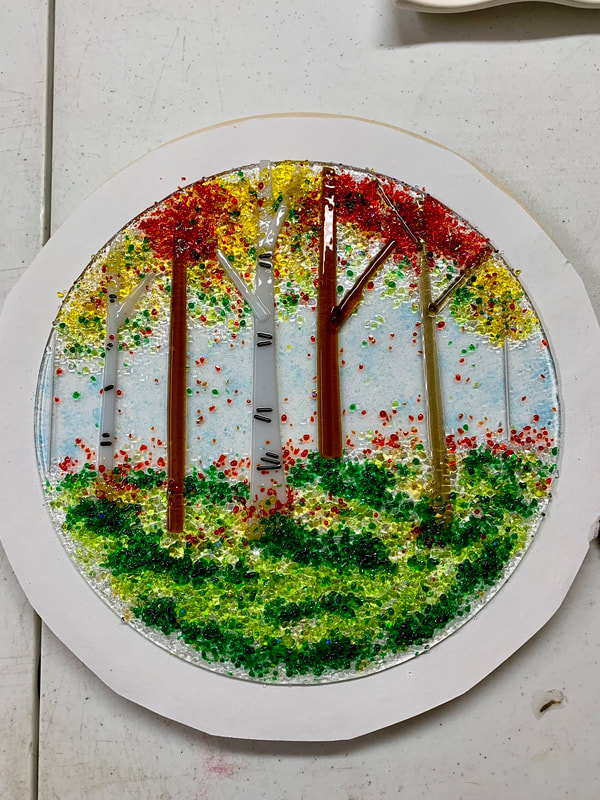
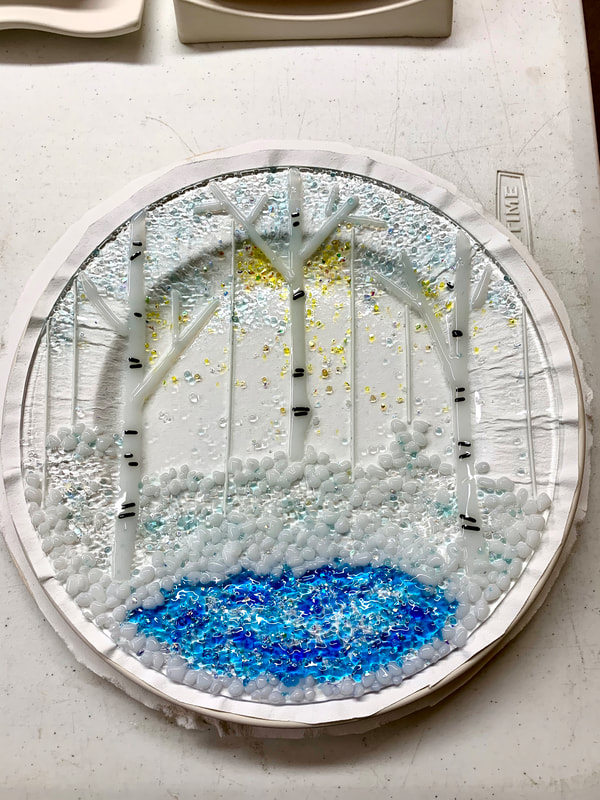
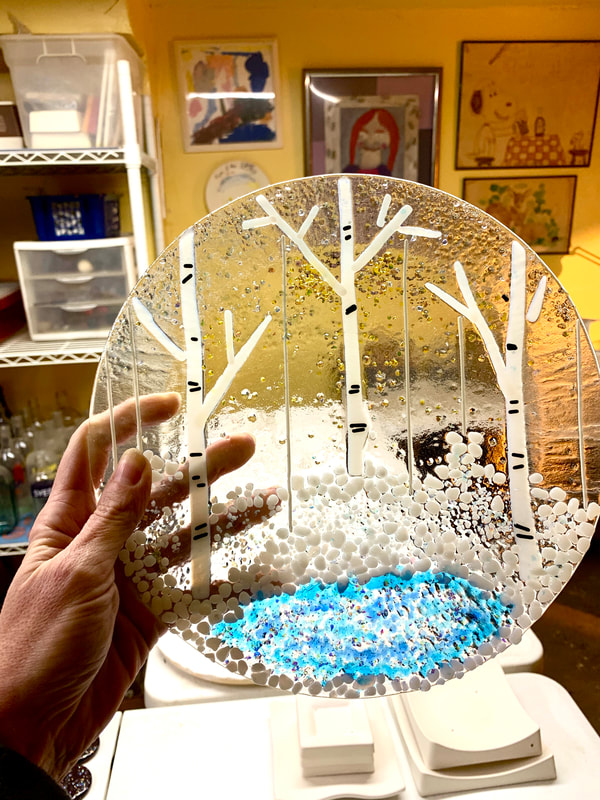
The ol' wagon is headed to Venice, Sanibel & Captiva Islands. Stay tuned.  The Pillywiggin Workshop has been in full swing. First getting ready for the Winter Fantasy Art Show, then the holidays. We made ornaments, bottle chimes, gourd snowmen and new this year, fused glass lanterns. As you can see, Mother Nature provided the inspiration for this lantern & it was the first to sell. I shared photos of it on our Pillywiggins Facebook page prior to the show. Our friend Sue saw the post, arrived early & made a beeline for the lantern. Thank you Sue! I love knowing where our creations will live. We have pieces in Maine, Florida, Colorado, Oregon & a few in Germany! But to me, it's extra special when your work belongs in a friend's home. The pieces below (shown under construction) are the first 2 plates of what will be a 4 plate series. We made a 10" version for Grandma Pillywiggin and a 7" version for Aunt Junie. We'll be working on spring & summer plates next to complete the series. Mom & Aunt Junie are the official "Beta Testers" for Pillywiggins Garden. LOL Over the winter we'll expand on the theme to create a collection that includes plates, lanterns, wall panels, ornaments & more. Stay tuned!
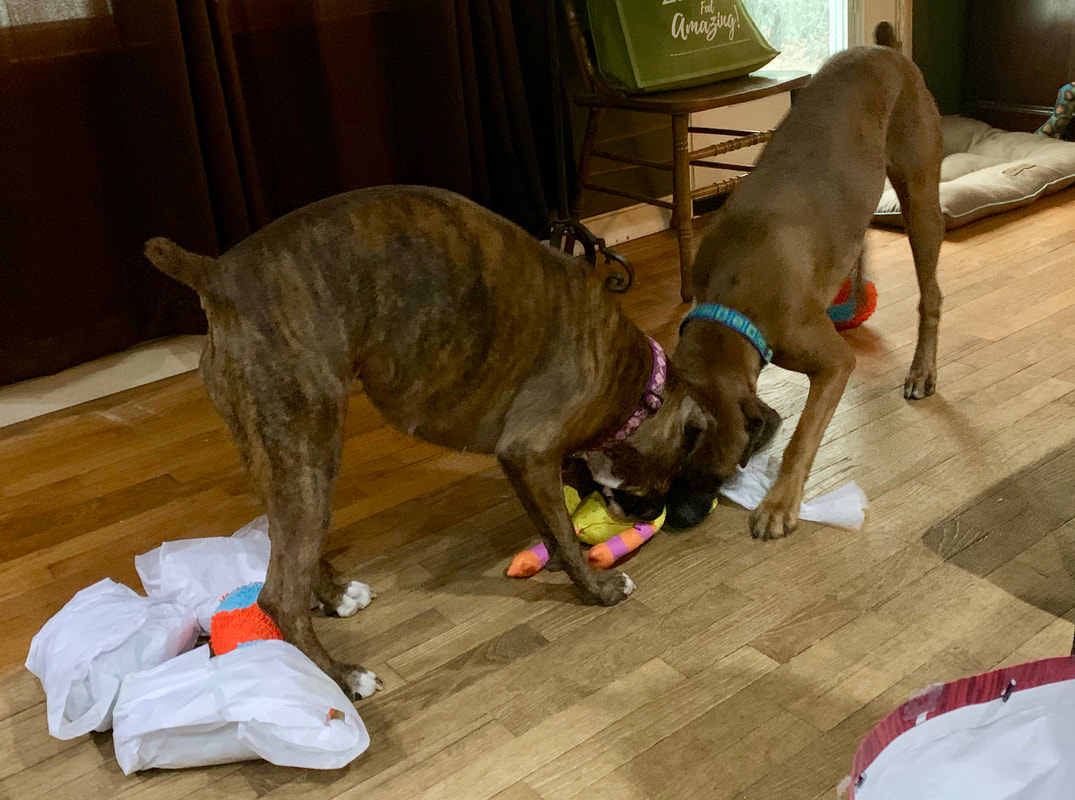
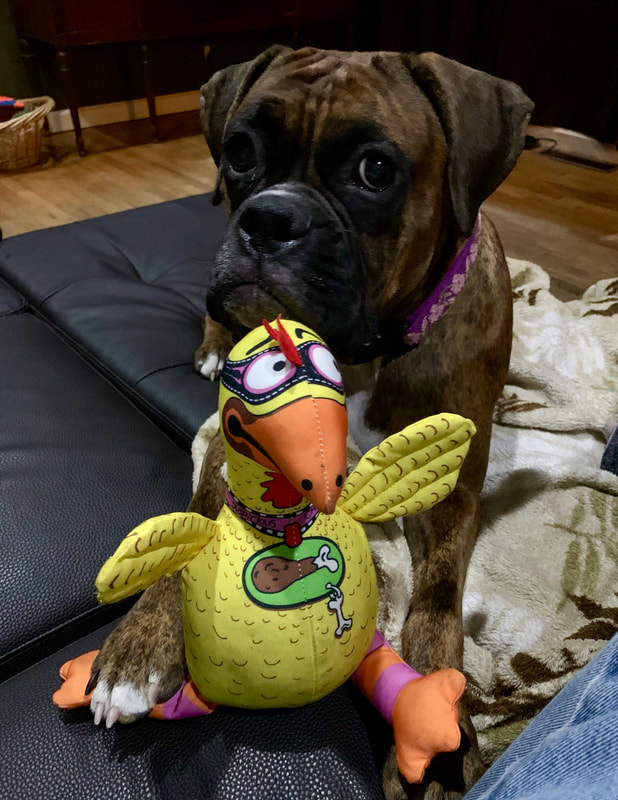
 The weather was perfect for safe holiday traveling. We spent Saturday, December 14th with Grandma & Grandpa Pillywiggin and Alma VFW Post 1454 honoring our Nation's Heroes on Wreaths Across America Day. Each year, volunteers gather to place a wreath on every Veteran's grave in the Veteran's Section of Riverside Cemetery in Alma, MI joining many others across the USA. 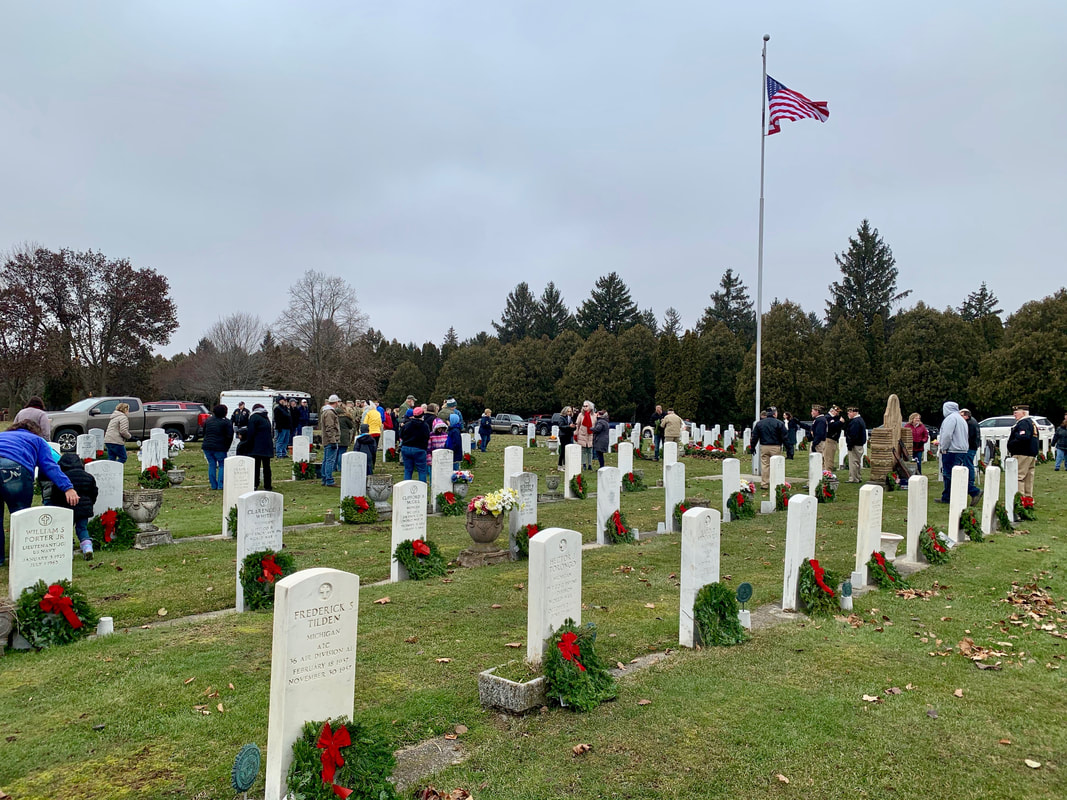  VFW Post 1454 Honor Guard (That's Grandpa Pillywiggin on the far right.) 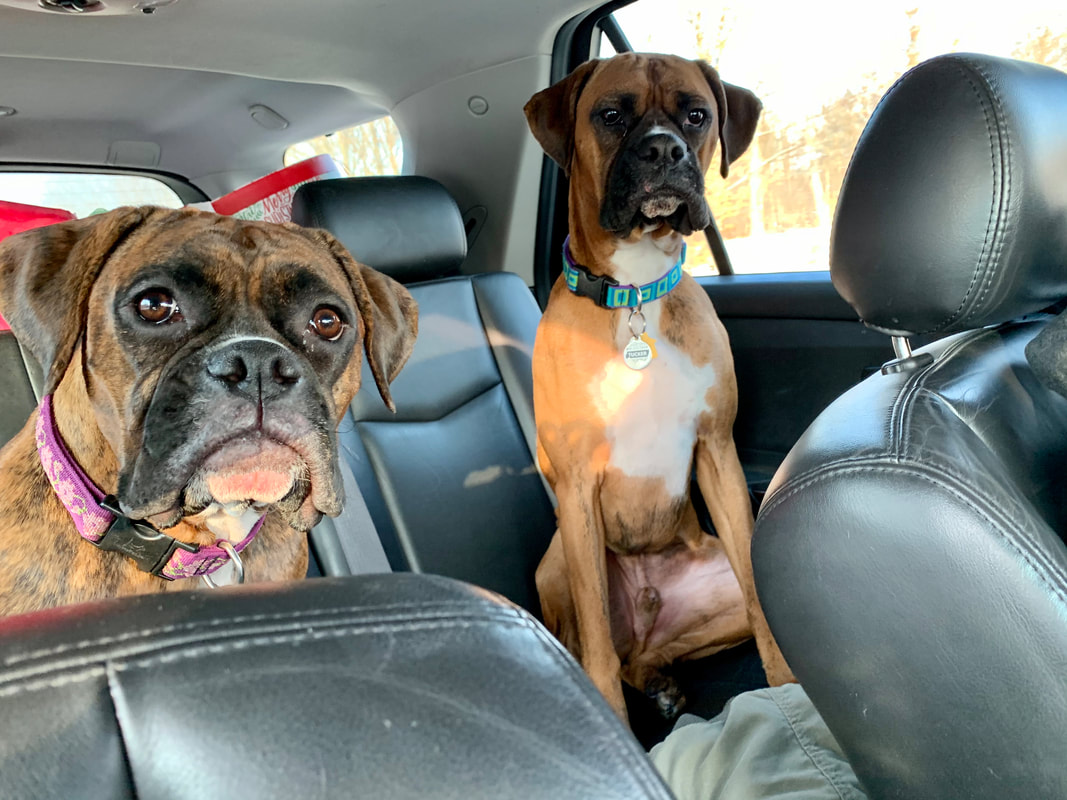 Like most families, we traveled with our "kids" over the holidays visiting family & friends. Our family Christmas is a weekend-long event held at Grandma & Grandpa Pillywiggins farm. From the U.P. on down, everyone gathers at the farm, including the furry members of our family. 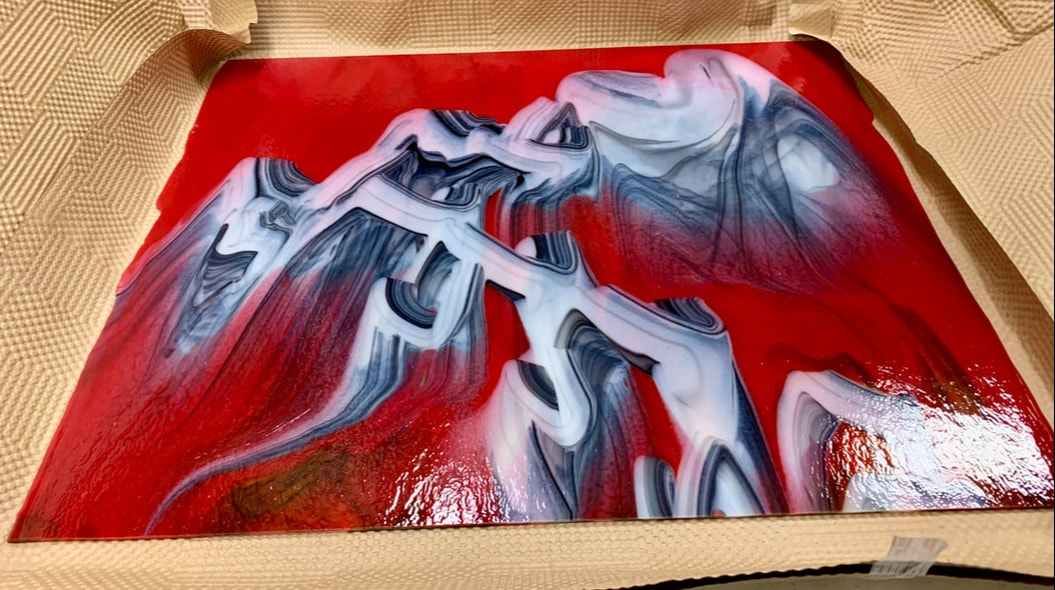 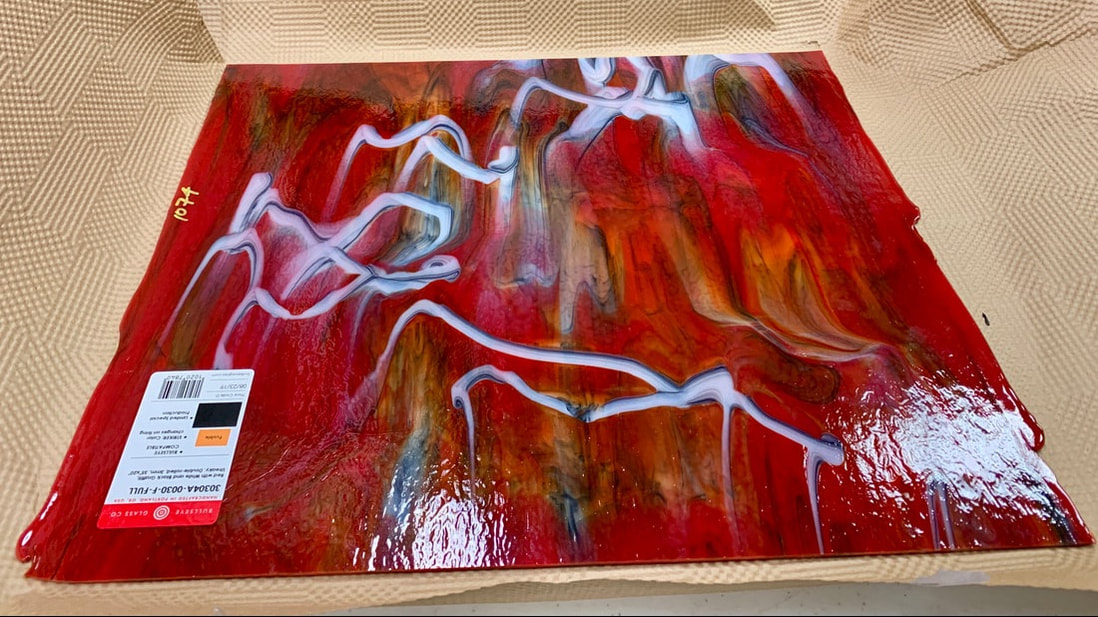 While we were downstate, I made a run to Delphi Art Glass in Lansing to stock up on glass supplies. I found this gorgeous piece of specialty glass that I could not resist. The photos above were one sheet of glass that I had split in half for easier transport. I'm not sure what I will do with it yet. For now, I'm happy just to gaze upon its beauty.
We spent Christmas Day at home with plenty of entertainment watching our kids open presents from Santa Paws. Jason & I very rarely go out for New Year's Eve but we made an exception this year. We made reservations at the Torch Lake Cafe in Eastport, a very short hop from our house. Dinner was excellent but we were there to see our friend Joan who was performing with her bandmates Yankee Station. It was our first time seeing them live. They were absolutely fabulous! Now that the excitement of the holidays is over, it's time to enjoy the simple pleasures of winter. Our favorite winter pastimes include.... 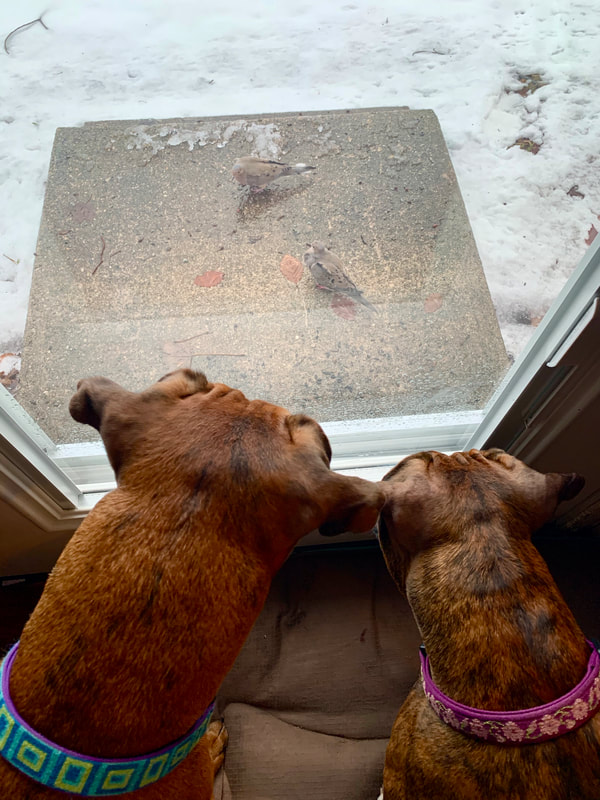 Bird Watching 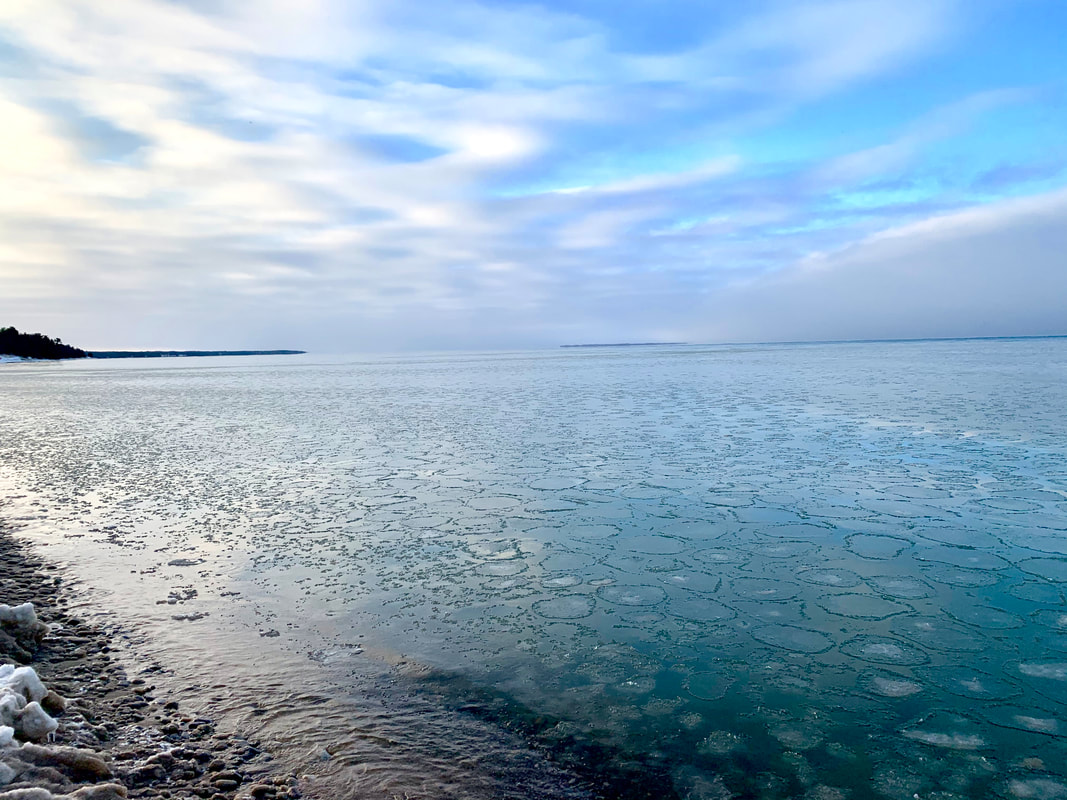 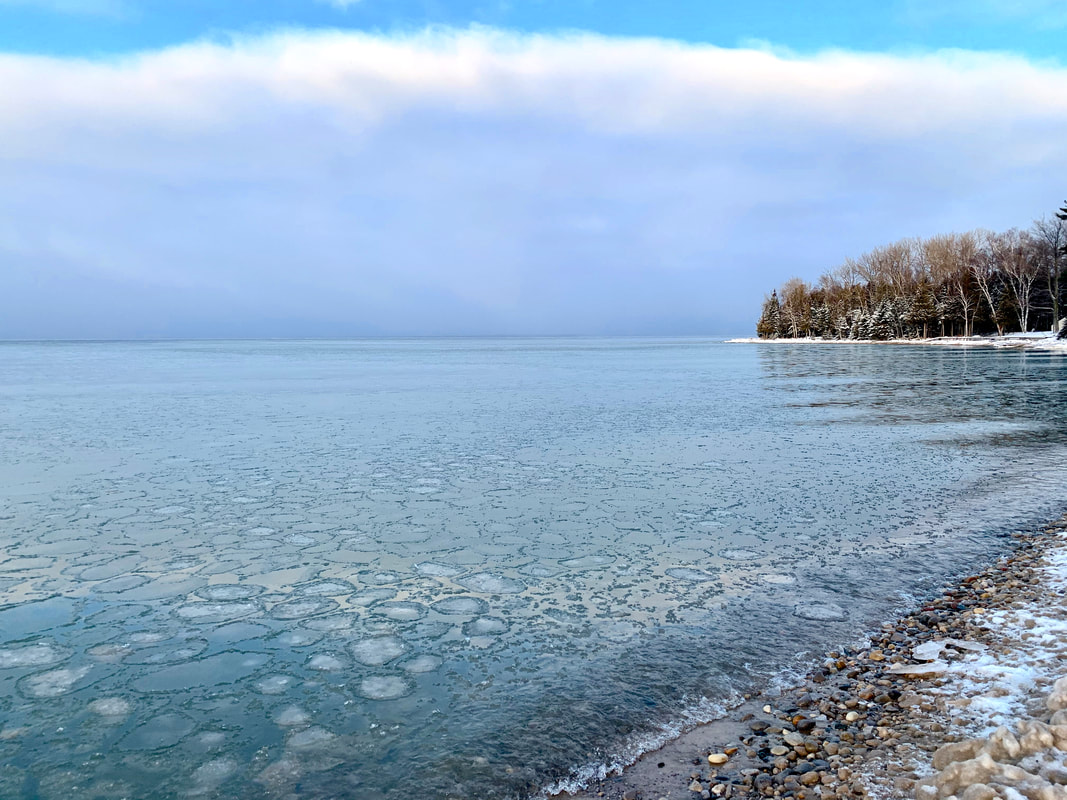 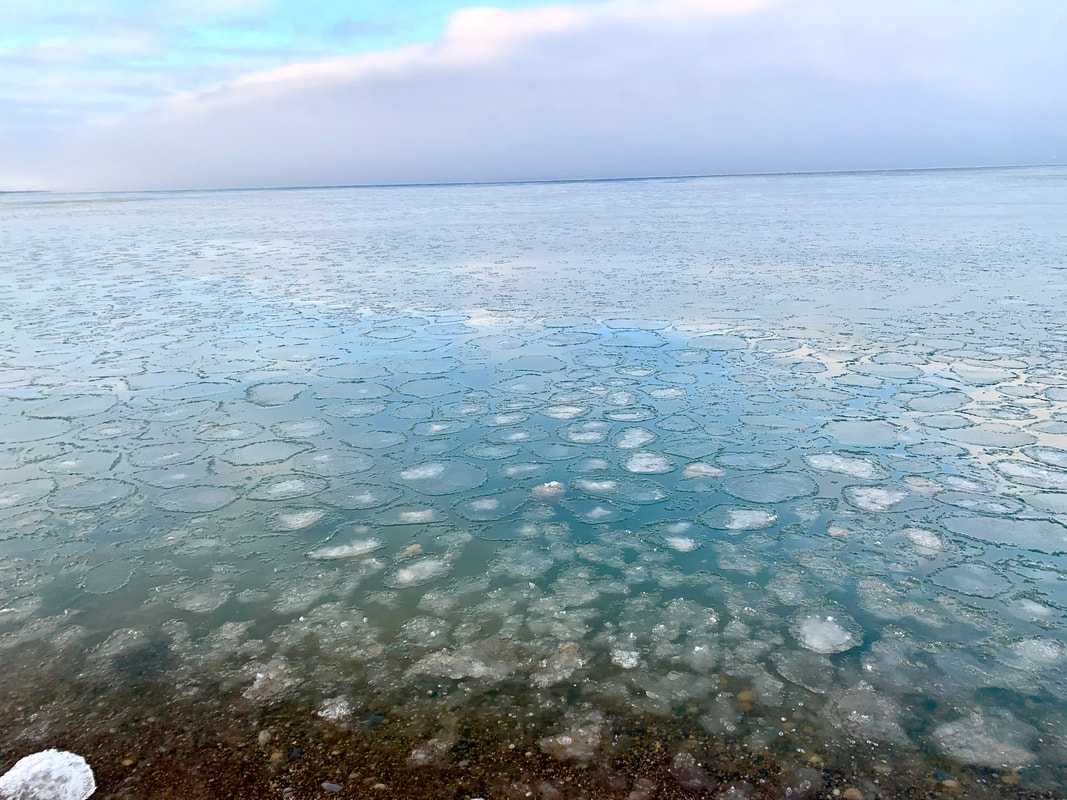 Nature Hikes 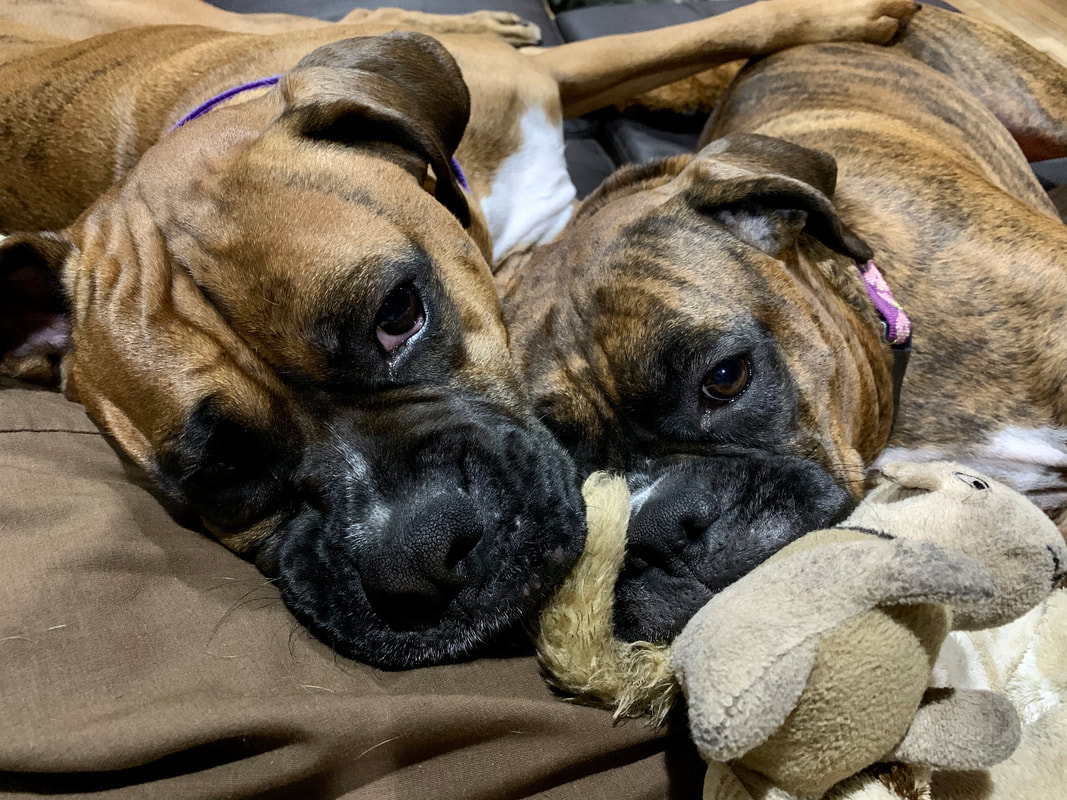 Snuggling on the Couch (Yep, I'm somewhere under that pile!)  Daydreaming About Spring!
|
Categories
All
Archives
July 2024
|


 RSS Feed
