|
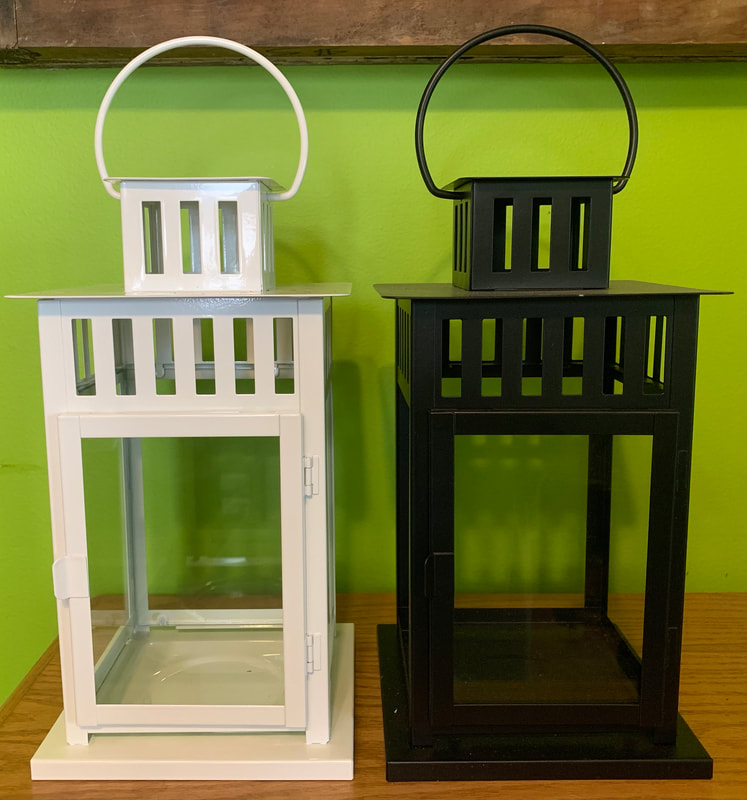
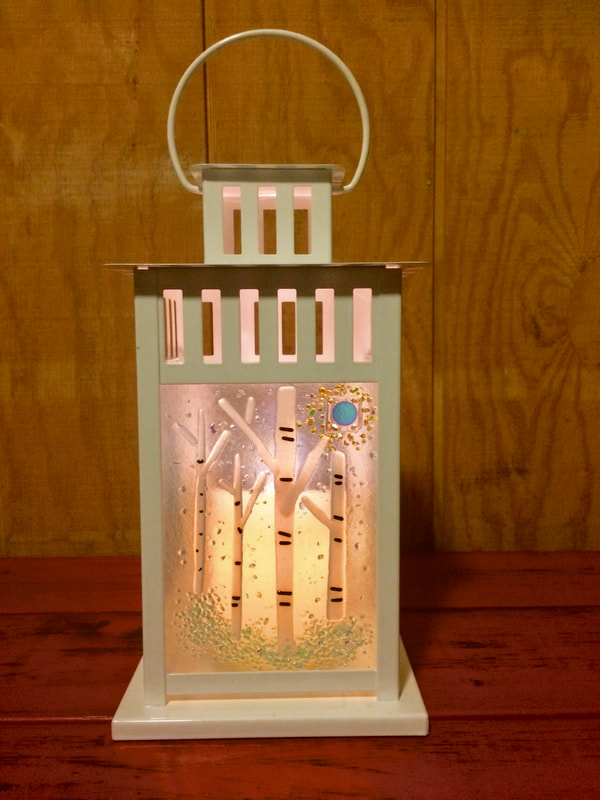
With glass, I still consider myself a beginner. There is so much to learn, so many techniques to master, interesting projects to try. I'm a member of several glass art groups online. They're a great place to find inspiration & helpful tips from those in the know. After admiring some incredibly beautiful lantern projects online, I was inspired to try a few myself. I have to say, I was thrilled with the outcome of our first lantern - a Christmas gift for Grandma Pillywiggin.
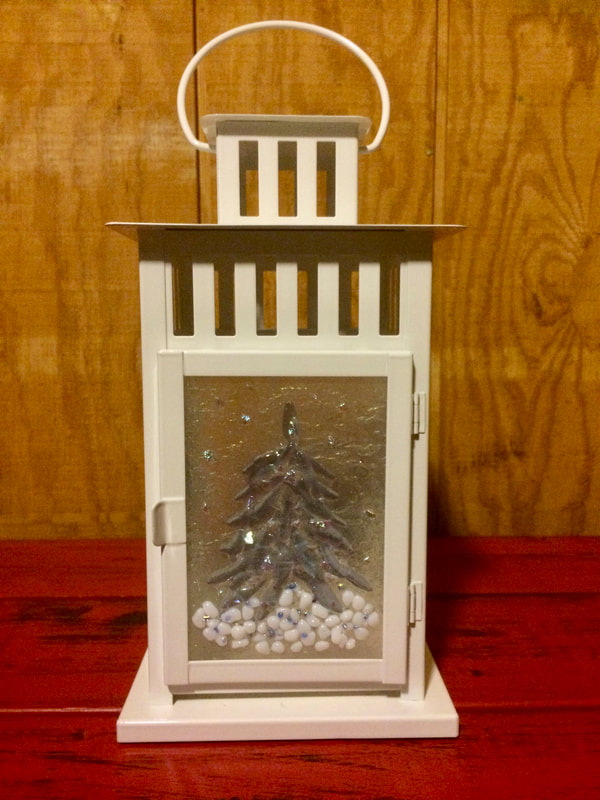
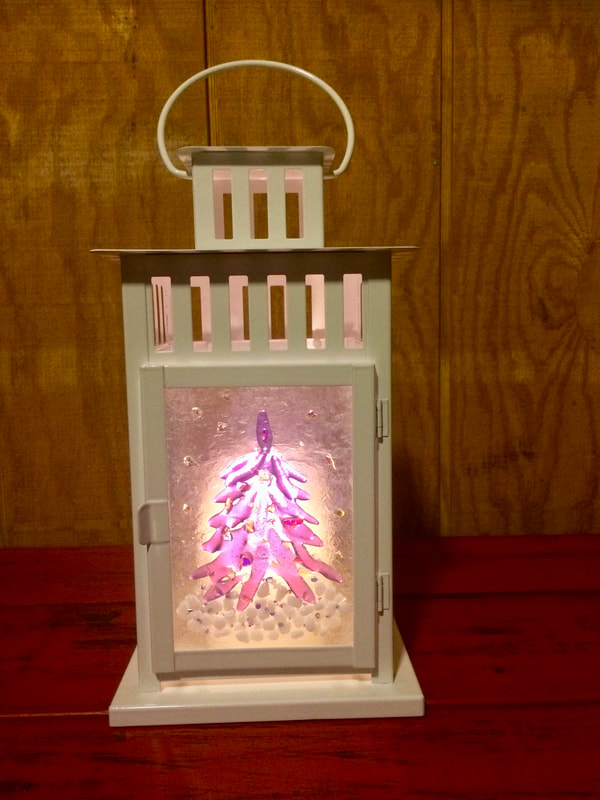
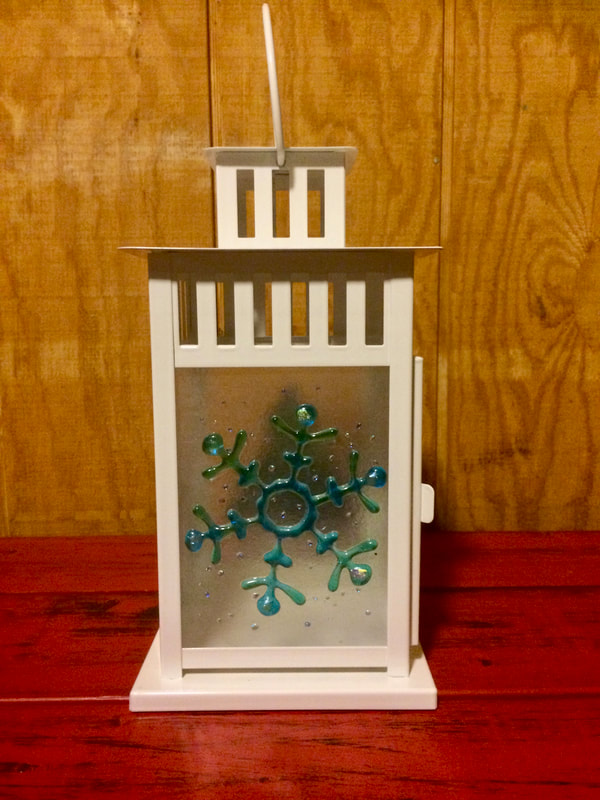
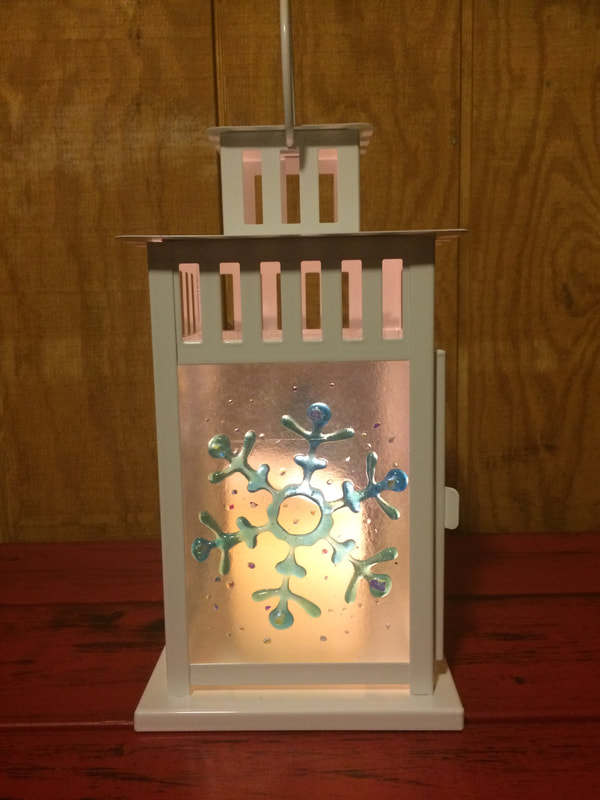
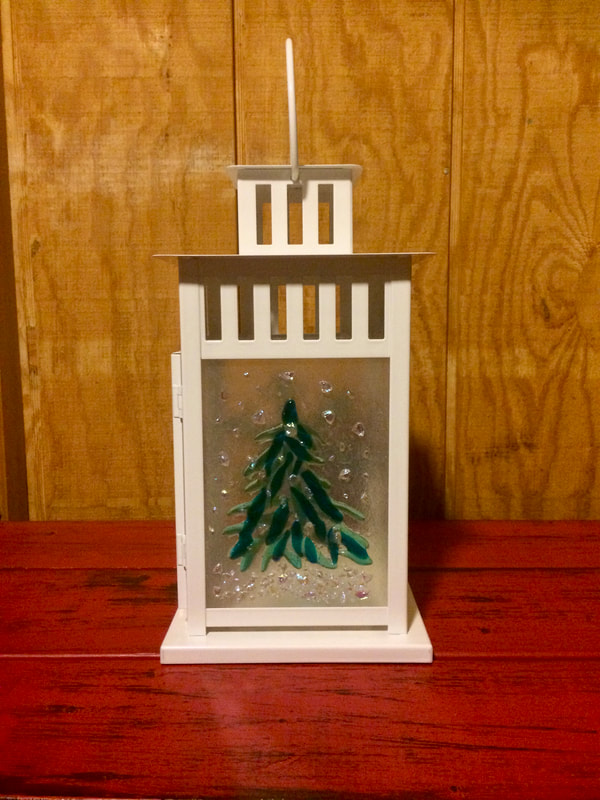
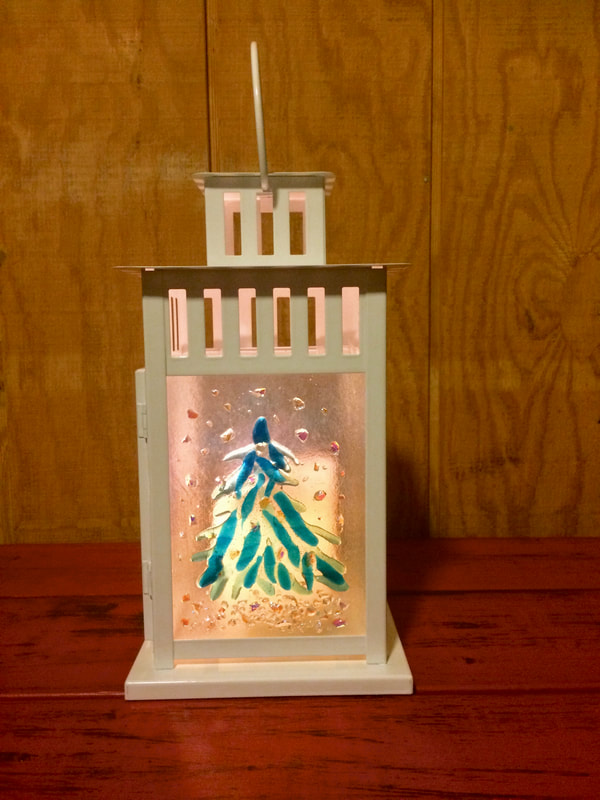
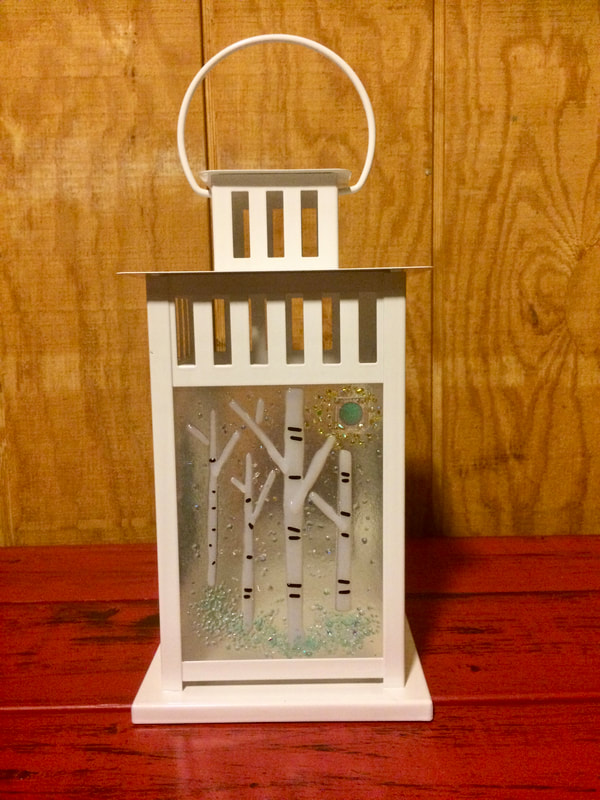
The Design I wanted a different design for each panel but I didn't want the finished project to look like a hodgepodge of mishmash ideas. So, I chose a theme and used repeating complementary colors on each panel. A wintery theme was perfect because
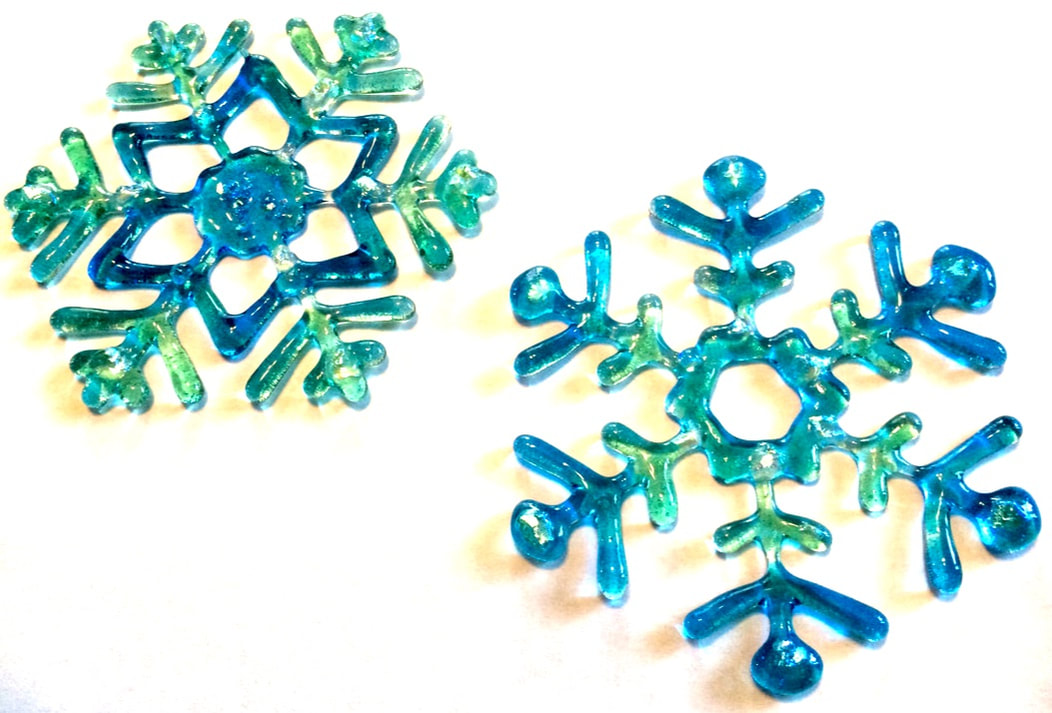
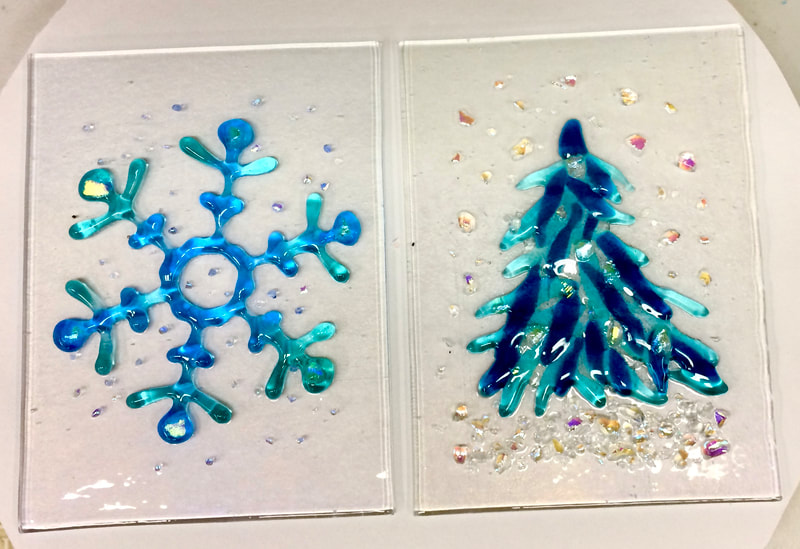
To make the snowflakes, I prepped the casting mold with glass separator, a must or the glass will stick inside the mold. This mold makes 2 different snowflakes. I found out during this project that one is a slightly larger than the other. I filled the mold with medium glass frit in translucent aqua & 2 shades of translucent turquoise. Frit is crushed glass available in powder form & in various sizes ranging from fine, medium to coarse. I used medium frit to reduce bubbling. Bubbles can be cool but not for this project. Bubbles would make the snowflakes appear slightly cloudy. I wanted them as translucent as possible.
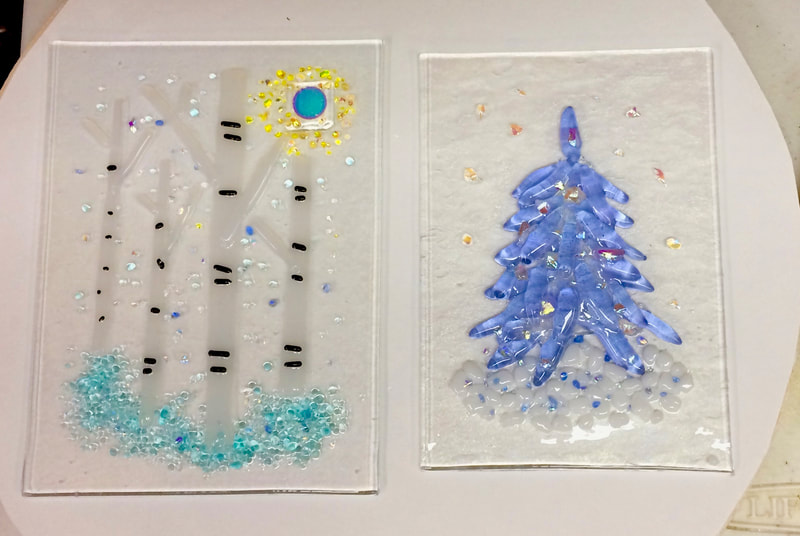
Creating The Panels I used irridized clear glass for each panel. I cut the 3 side panels first before I discovered I didn't have enough glass left for the door. Oops... Time to design on the fly! I had a piece of rippled irridized clear that was similar but different enough to stand out. Luckily, it was the front door panel so my mismatched glass became a "cool design element" instead of the odd-man-out. I used a single layer of glass for each panel. Anything thicker would not have fit inside the frames. I also had to keep my designs away from the edges about 1/4" on all sides. Other than that, the panels can be decorated any way you'd like. I used scrap glass from other projects to decorate mine, trimming & playing with the pieces to create birch & pine trees. Then, I added details using black stringer and a mix of opaque, translucent & dichroic frit. I managed to squeeze all four panels onto 2 shelves - one for each kiln. We programed the kilns for a contour fuse (about 1375F) to slightly round the edges while retaining the raised texture and kept our fingers crossed for the next 13 hours. It worked! When I cracked open the kilns the next morning I broke into the happy dance. I was too nervous to watch Jason insert the panels into the lantern but he pulled it off without a hitch.
This was a fun project with endless possibilities.
My mind is awhirl with lantern designs. More pictures & posts coming soon!
0 Comments
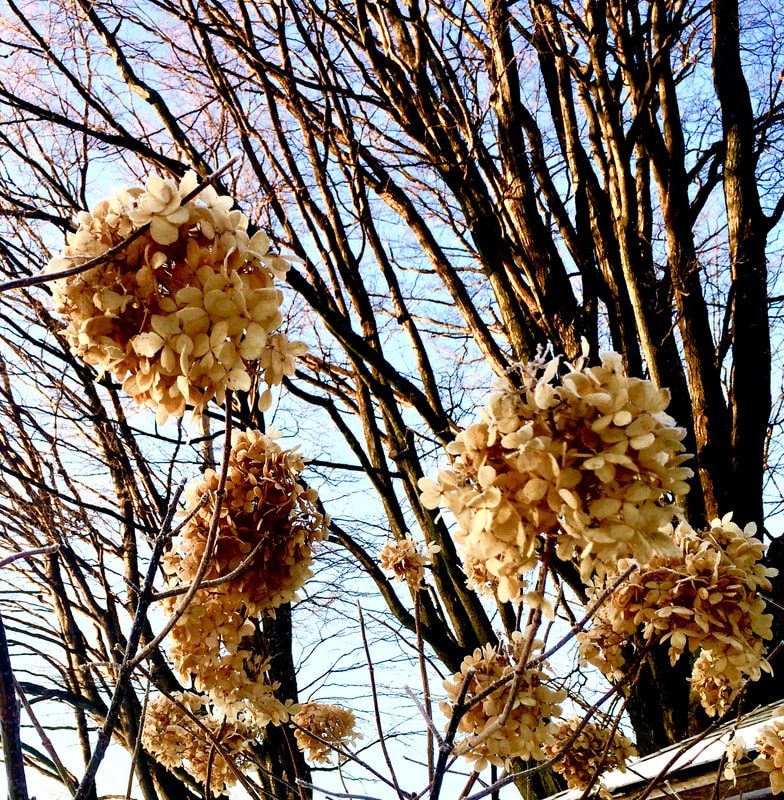
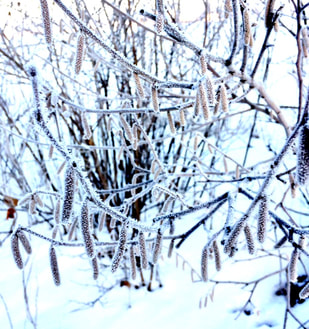
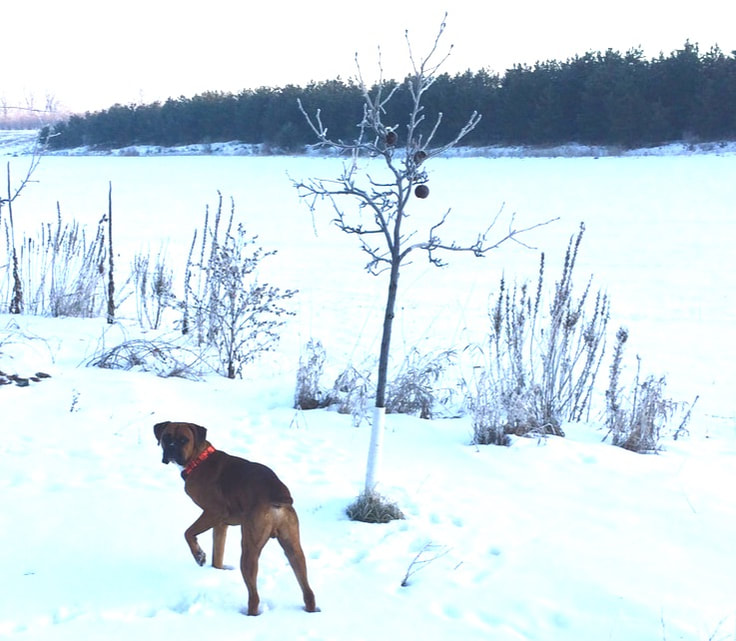
There's frost on the Pillywiggins! But, we don't care. Our garden still sparkles, In the fresh northern air. We still have hydrangea, Blossoms & blooms. And the weeds look lovely, With frost on their plumes. A few stubborn fruits, Cling tight to their bough. Tucker will get them! Some way or some how. There's frost on the Pillywiggins! But, that's alright. It was a beautiful day. And a spectacular night! Our garden, our photos, our words...
Life is good when you're a Pillywiggin! |
Categories
All
Archives
July 2024
|
A Blog for Art, Garden & Nature Enthusiasts




 RSS Feed
