Pillywiggin Postscripts
A Blog for Art, Garden & Nature Enthusiasts
|
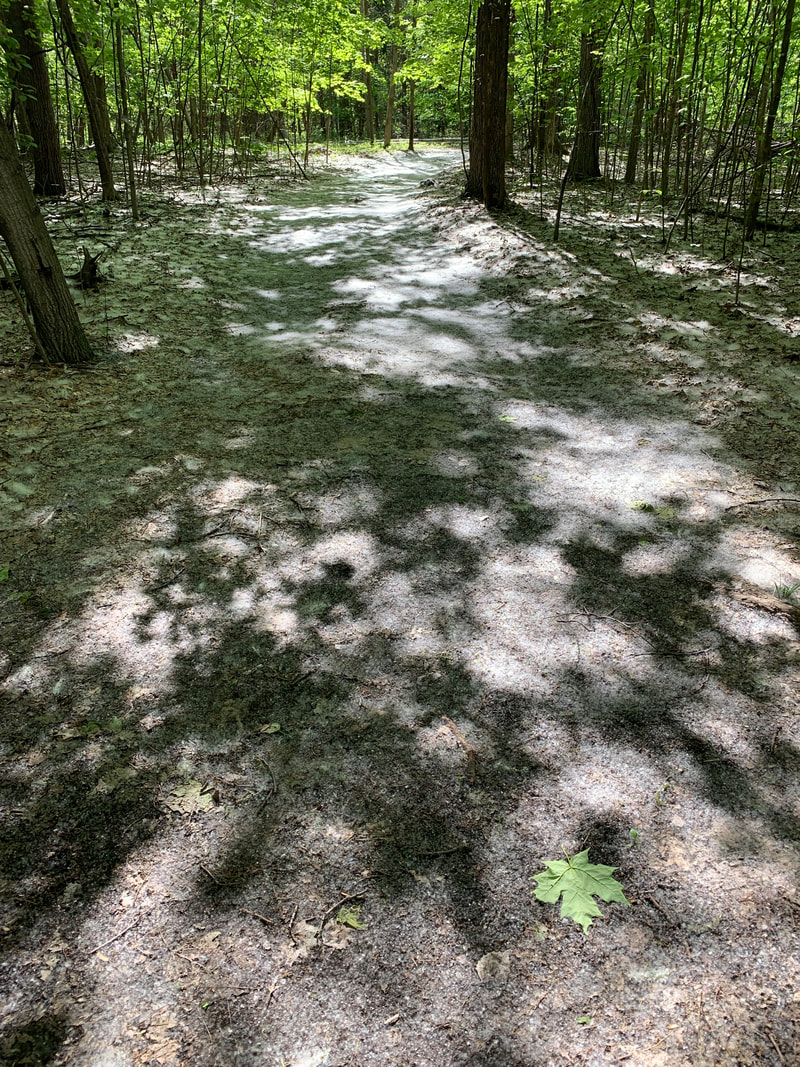
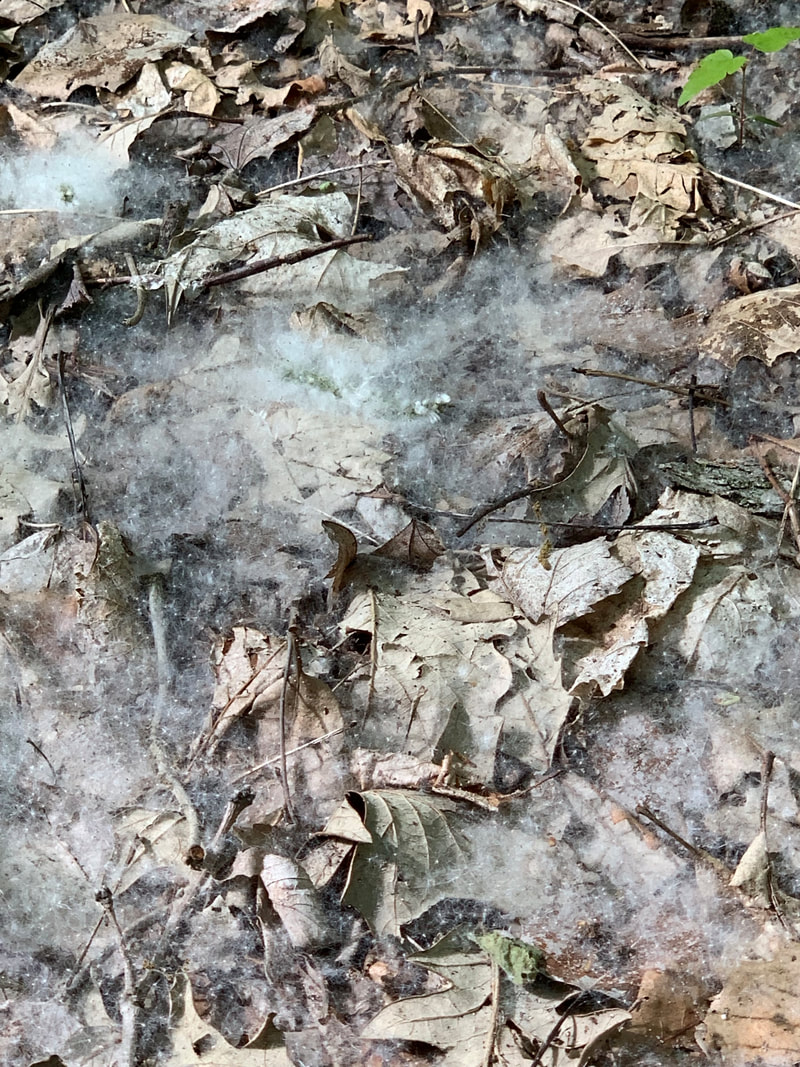
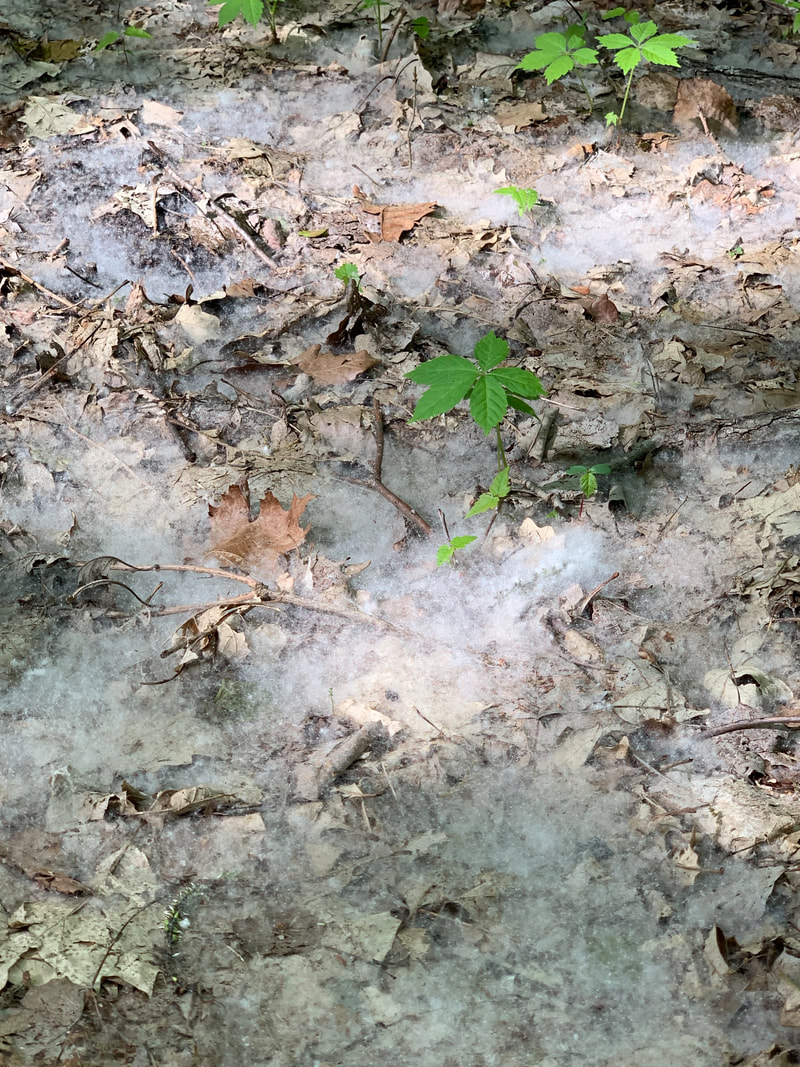
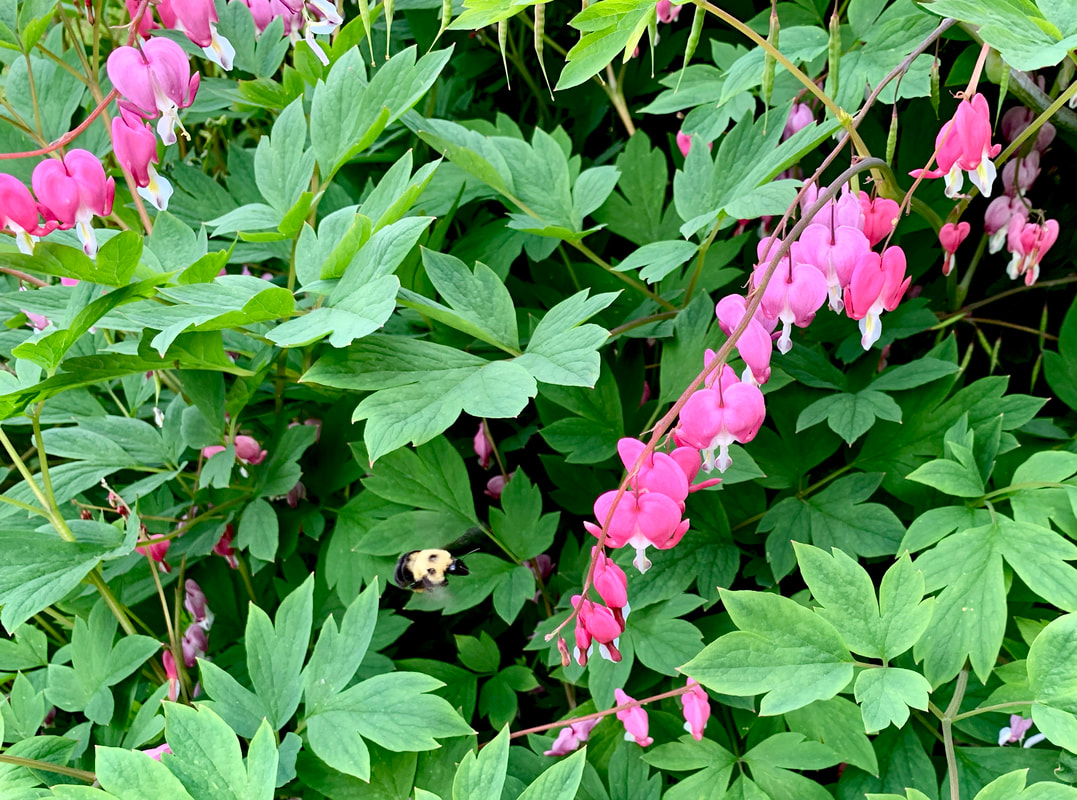
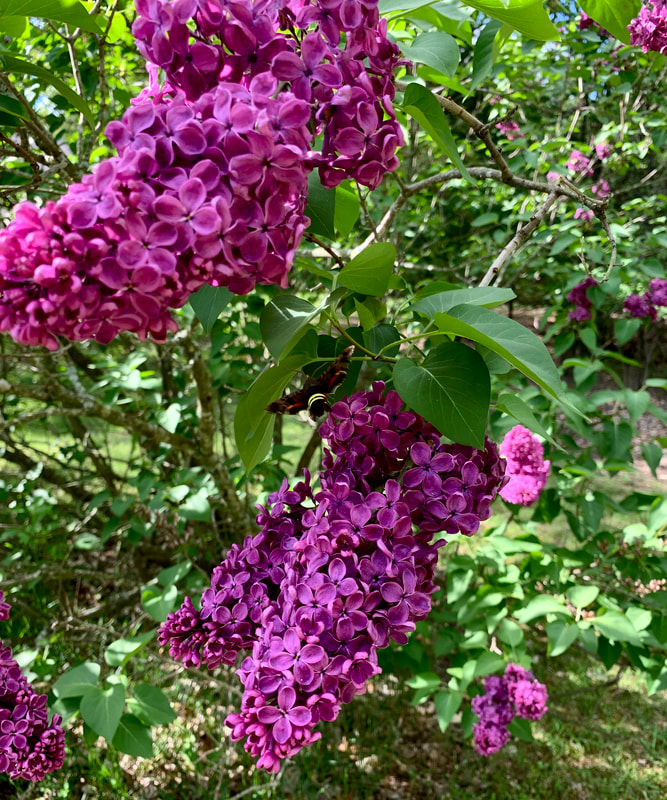
I spent Memorial Weekend with my folk's on the farm. The 3 hour drive puts them a few weeks ahead in the growing (ALLERGY!) season. I noticed an abundance of cottonwood fuzzies floating in the air around Clare so I decided I better pick up some allergy meds. I'm so glad I did. The trails on the farm were blanketed with fuzz. The gardens were exploding with blooms & yummy treats. My mom is an awesome cook. I ate my fill of fresh asparagus & morel mushrooms picked on the farm. Morels cooked my favorite way, dredged in flour & pan-fried in butter until crispy. Yum! I was one of many hungry travelers eating well that day. Hummingbirds buzzed the porch feeders. Bumblebees feasted on bleeding heart nectar & the lilacs were covered in hummingbird moths. I was lucky to catch photos of both in flight.
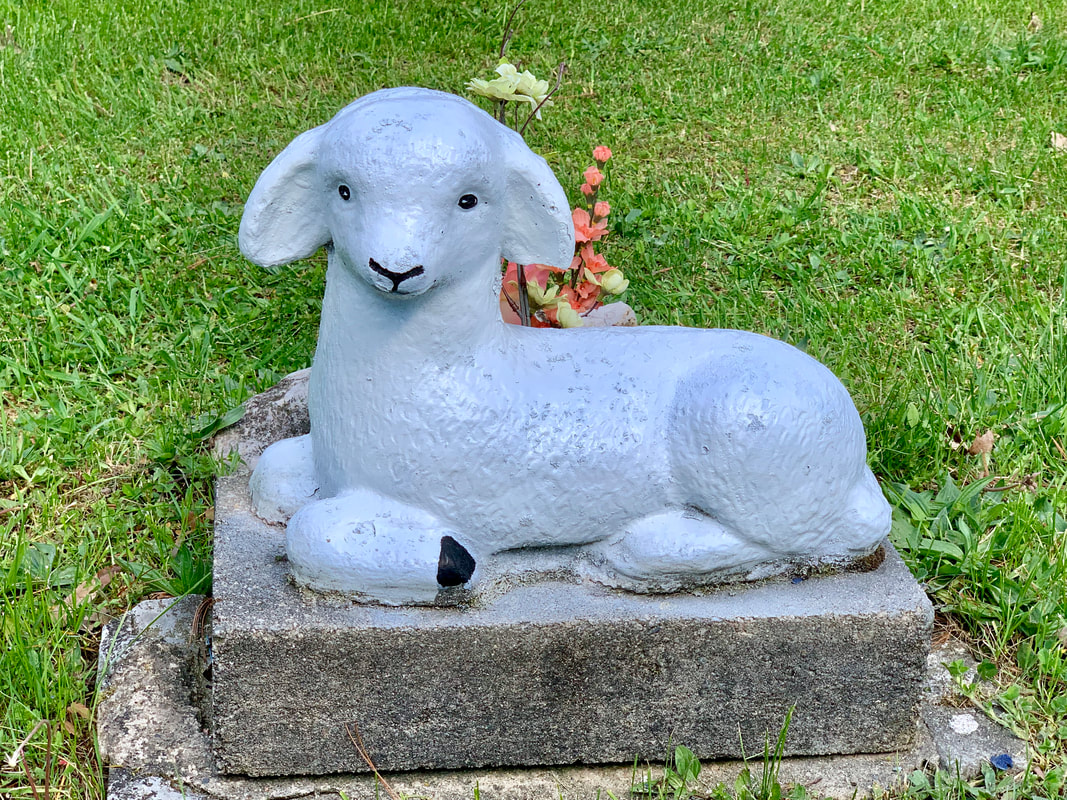
I have wonderful memories of my great-grandparents. I was blessed to have them in my life for many years. Great-Grandpa was 82 when he passed. He would be 118 if he were alive today. His infant brother passed when Great-Grandpa was just a child. We're not sure when the lamb was placed but it's likely the lamb is over 100 years old. Here's a photo of my Great-Grandpa & his family taken sometime in the early 1900's. (Great-Grandpa is the little blonde boy with the serious expression.) 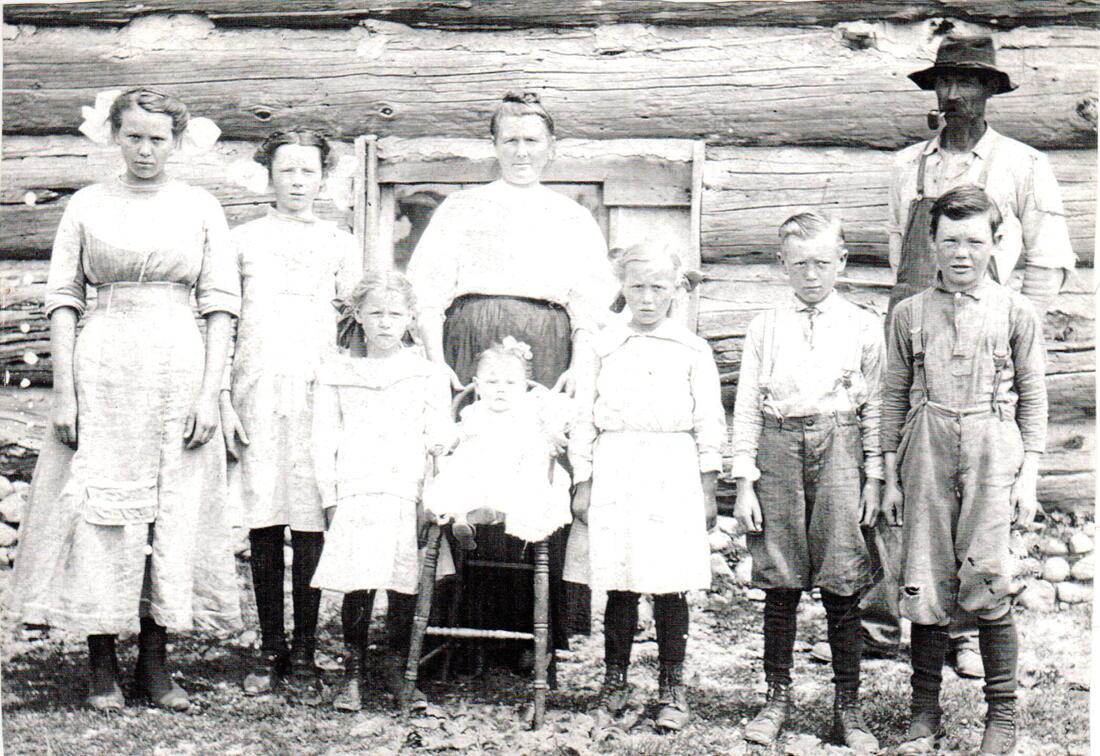
 It was a wonderful weekend making memories with my family, honoring the memory of my loved ones, and paying tribute to our Nation's Fallen Heroes, the brave men & women who made the ultimate sacrifice so that we may all live free. Please, honor their memory by helping the living. Support your local Veterans organizations! 
1 Comment
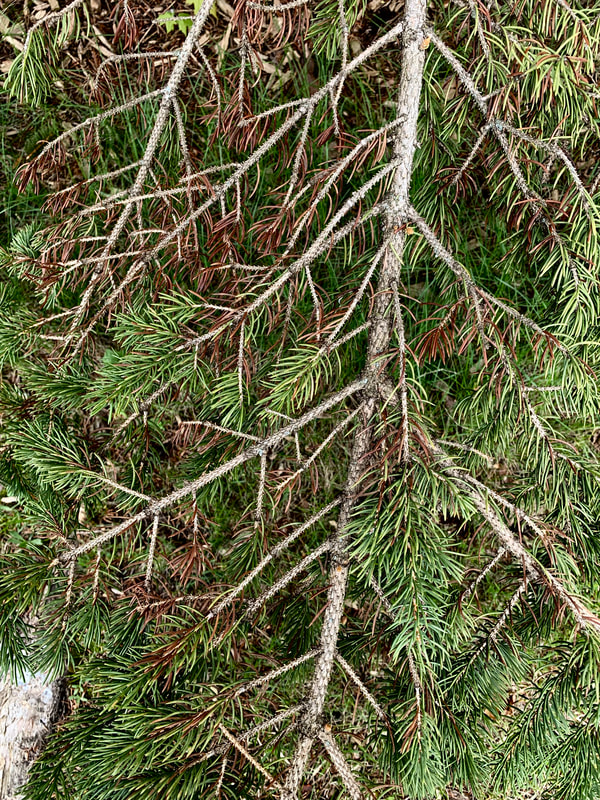
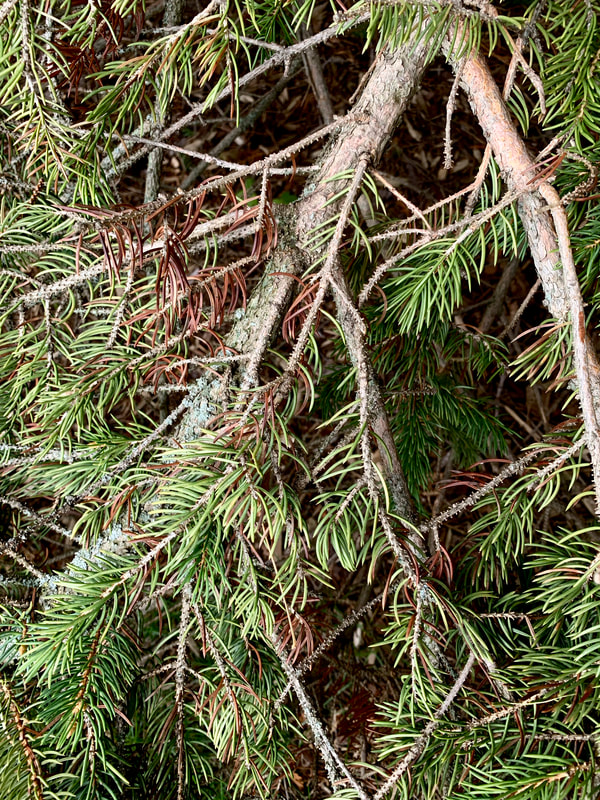
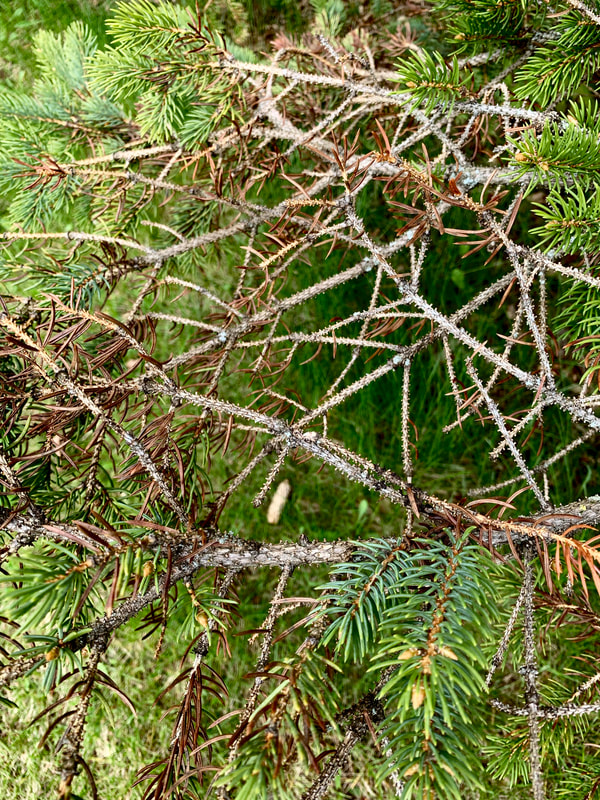
Are the needled trees in your landscaping looking brown & sickly? There's a good chance it's due to one (or both) of the needle cast diseases sweeping though our area. Rhizosphaera Needle Cast & Stigmina Needle Cast diseases are devastating local needled tree populations. Both are caused by fungi and both can infect your trees at the same time. The best way to prevent tree loss and the spread of both diseases is to AVOID PLANTING ALL TREES SUSCEPTIBLE TO THESE INFECTIONS. Unfortunately, most nurseries & plant catalogs are still full of them! 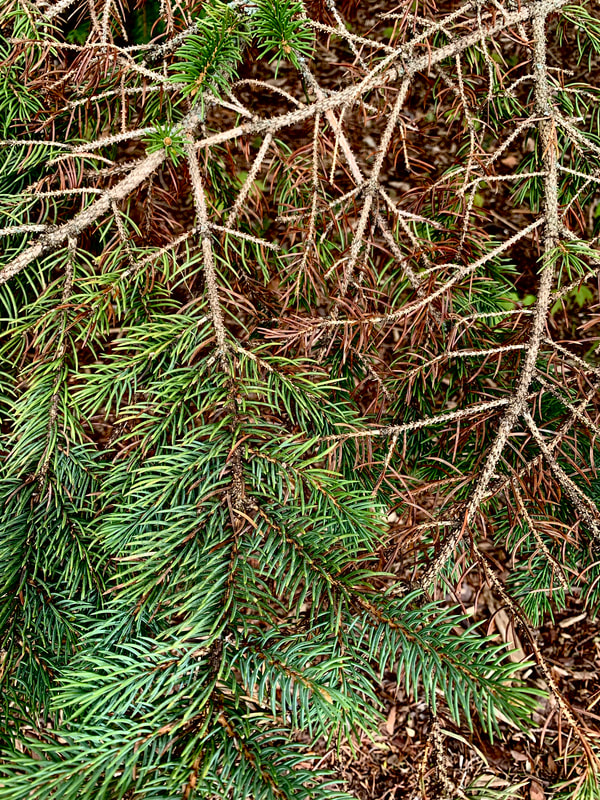 When a large blue spruce in our front yard began losing needles we started looking for answers online. What we found was all bad news. Most articles we read warn there is still much to be learned about Rhizosphaera & Stigmina Needle Cast Disease. Limited information is available online, even fewer options exist for successfully treating these diseases. Bottom line, we expect to lose a few of our trees and you probably will too. Here's what we know so far.
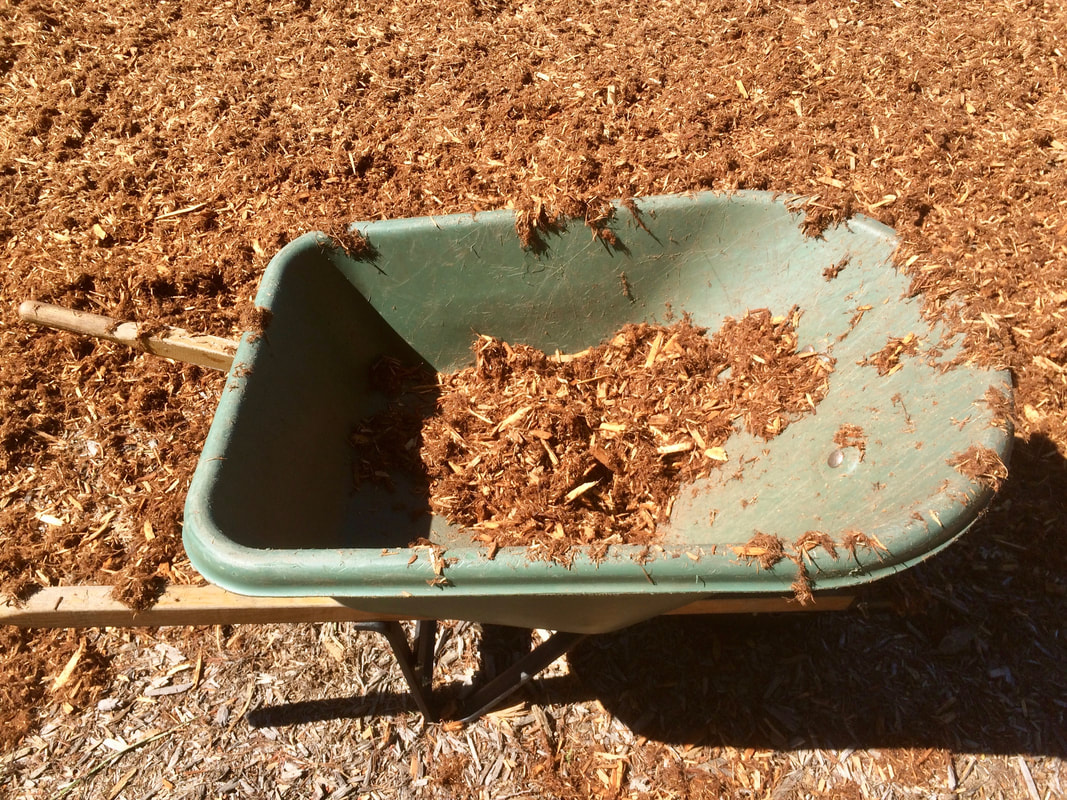
Our Best Advice, Watch Your Trees Closely & Please Avoid Spreading Disease. DO NOT PURCHASE OR PLANT SUSCEPTIBLE SPECIES (Until more info & effective treatments become available) We're noticing a disturbing trend in our area. Home owners are being grossly overcharged for improperly installed mulch and the results are much costlier than you'd imagine. This issue came to our attention early last summer prompting me to begin this blog post. I've struggled with the decision to publish it ever since. Although I feel it's important home owners are made aware of this problem, I've been hesitant to call out a competitor on their work and their actions. (That's not the Pillywiggin way!) Unfortunately, we're seeing this problem continue into the 2019 landscaping season. In effort to inform & protect our readers, here is your warning: If you use mulch in your landscaping, ESPECIALLY IF IT WAS PROFESSIONALLY INSTALLED, please read this post & immediately check your beds! Mulch 101 - Don't Be Fooled, Get Schooled!Spring 2018. Our phones were ringing off the hook with new customers seeking Spring Clean-Up Services. We met with potential clients, walking properties from Elk Rapids to Charlevoix. A surprising number were defecting from another landscaping service. We never ask. Most people just volunteer that information, especially if they're unhappy with their previous service. Each site presented its own unique challenges but it didn't take long to notice the one common thread linking them all to a single culprit. Improperly installed mulch. Every inch of it "professionally installed" by the same landscape company, one of the largest in our area. Lake Michigan, Atwood:
Torch Lake, Kewadin:
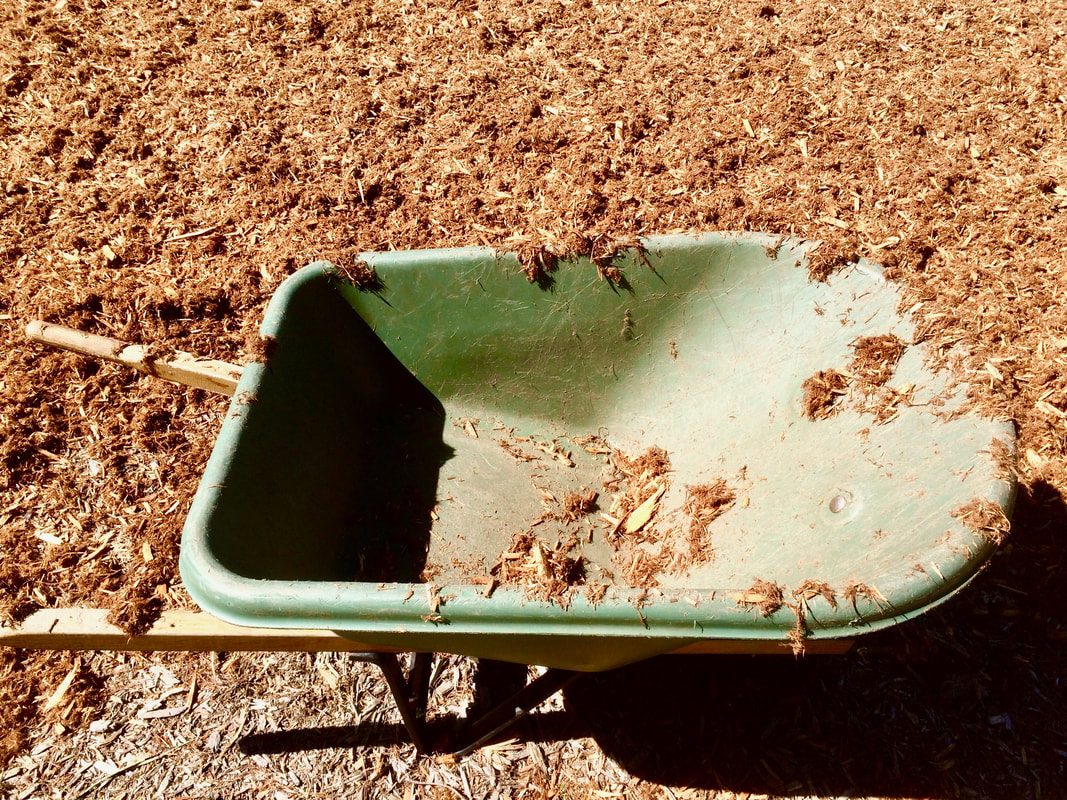
Round Lake, Charlevoix: We quoted 8 yards of mulch. The home owner was certain we had made a mistake. When Jason arrived on site the owner handed him a copy of XYZ's invoice from the previous year - 14 yards of mulch delivered & installed. Every year! Given the size & layout of the property there was absolutely no room to place that much mulch without leaving piles scattered about, but the home owner was certain. He was onsite when the work took place. The mulch was delivered in (1) truck load & spread the same day. He noted there was still mulch onboard the truck when they left. Did you catch the problem here? Don't feel bad if you missed it. The home owner missed it too, several years in a row. This home owner was overcharged for mulch by 4+ yards each year. How do we know? Because XYZ's largest dump truck holds 10 cubic yards! Of course, most customers would not know this. Even if they did, not all home owners are on site when the work takes place. It's not easy to determine how much mulch was actually spread once it's down. Understanding weights & measures is the first step toward safeguarding yourself from accidental or intentional overcharges on deliveries.
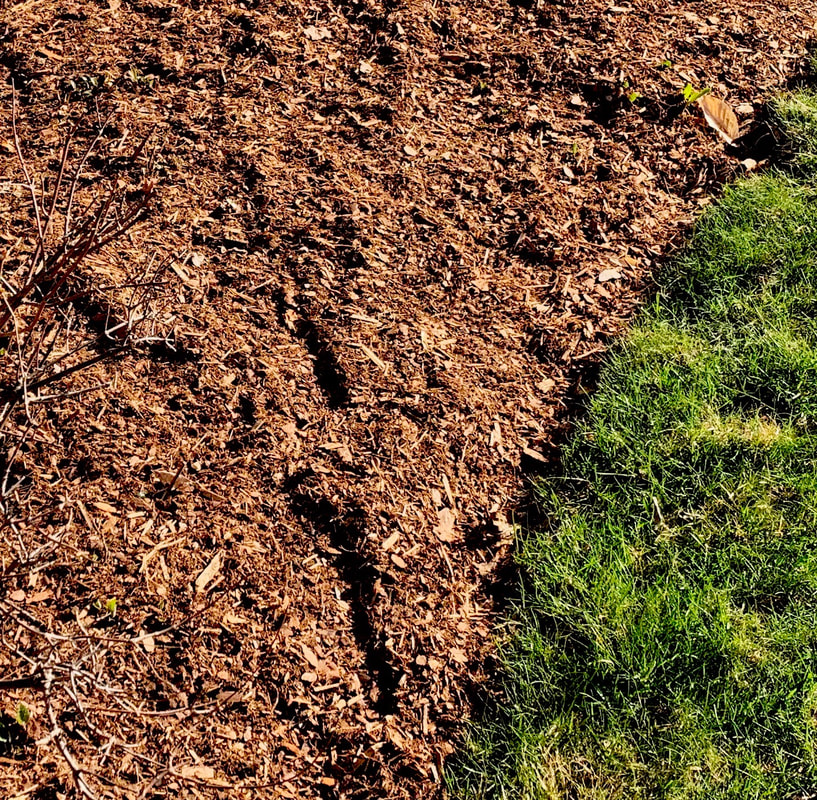
Prep Work Is Key To Proper Installation!Taking the time to properly prepare you beds can make a HUGE difference in their overall health & appearance! Remove Debris
Prepare The Soil
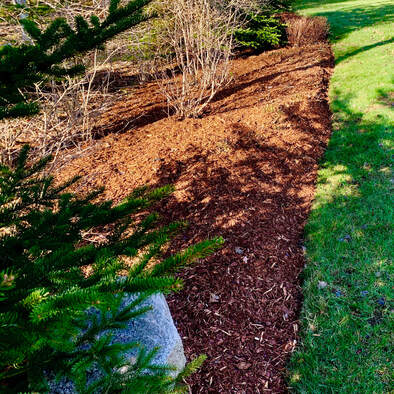
Edge Those Beds!
Proper ApplicationWhen applying mulch to an area for the 1st time:
When reapplying mulch to previously mulched areas:
Mulching around structures:
 Rotted cedar shake caused by excessive mulch allowed to touch home.
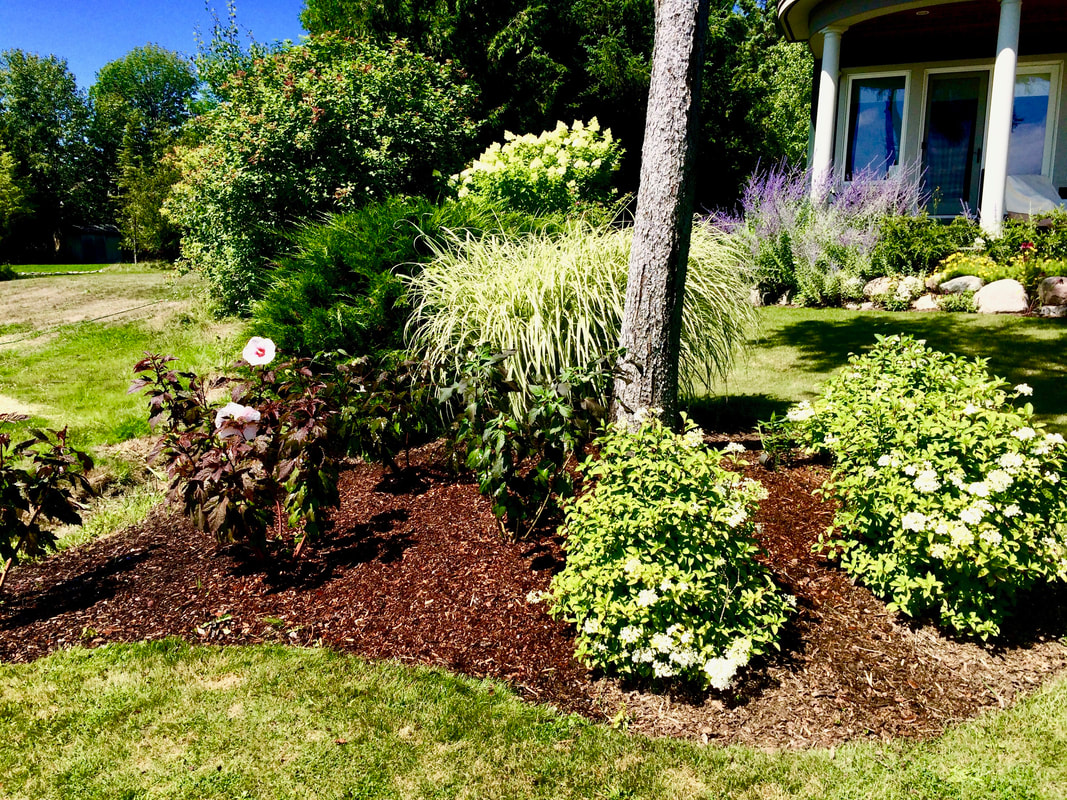
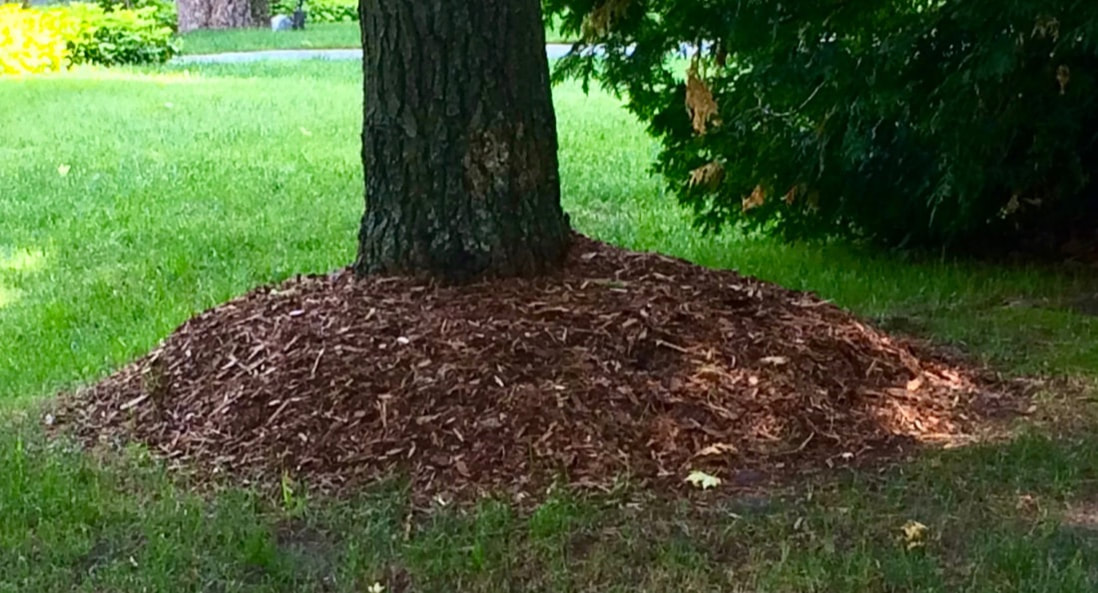 WANT HEALTHY TREES? NO MULCH VOLCANOES PLEASE! Finishing Touches:
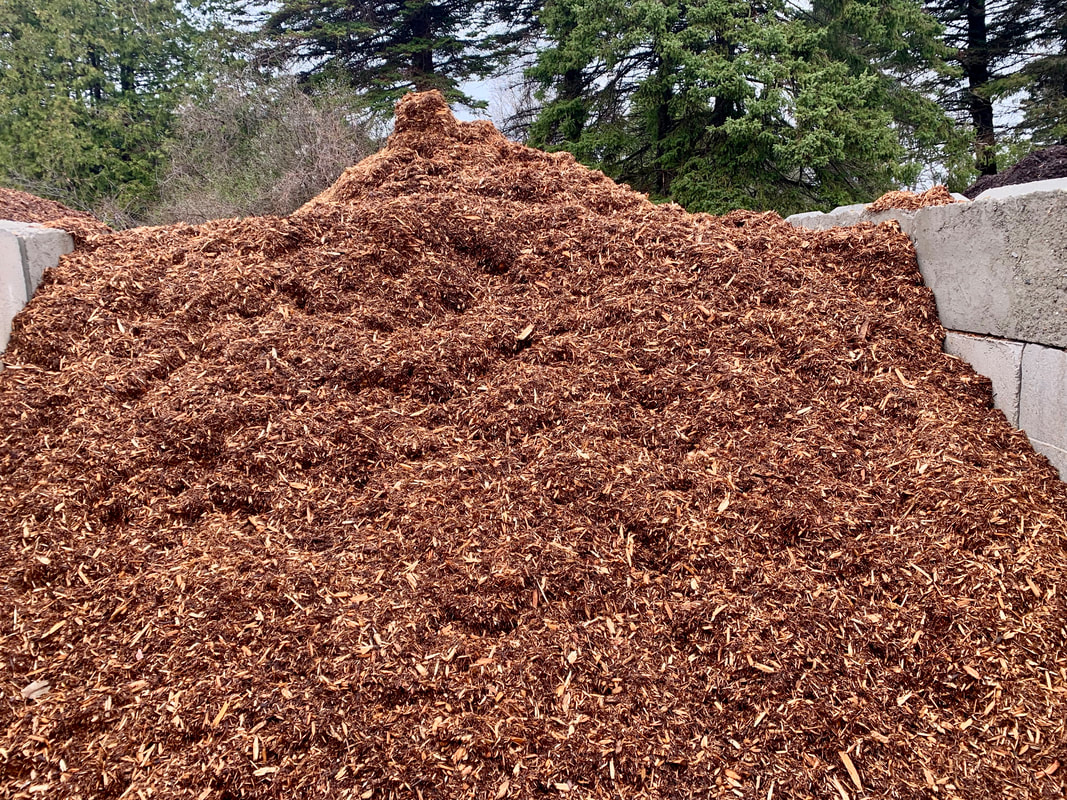
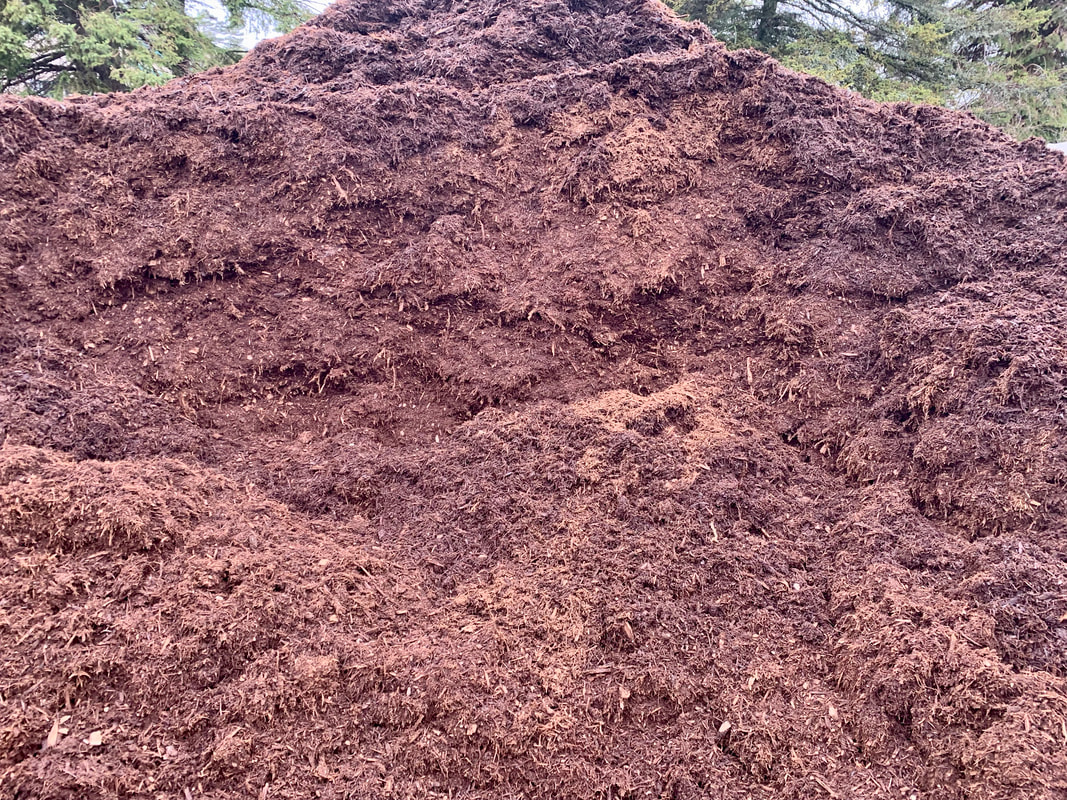
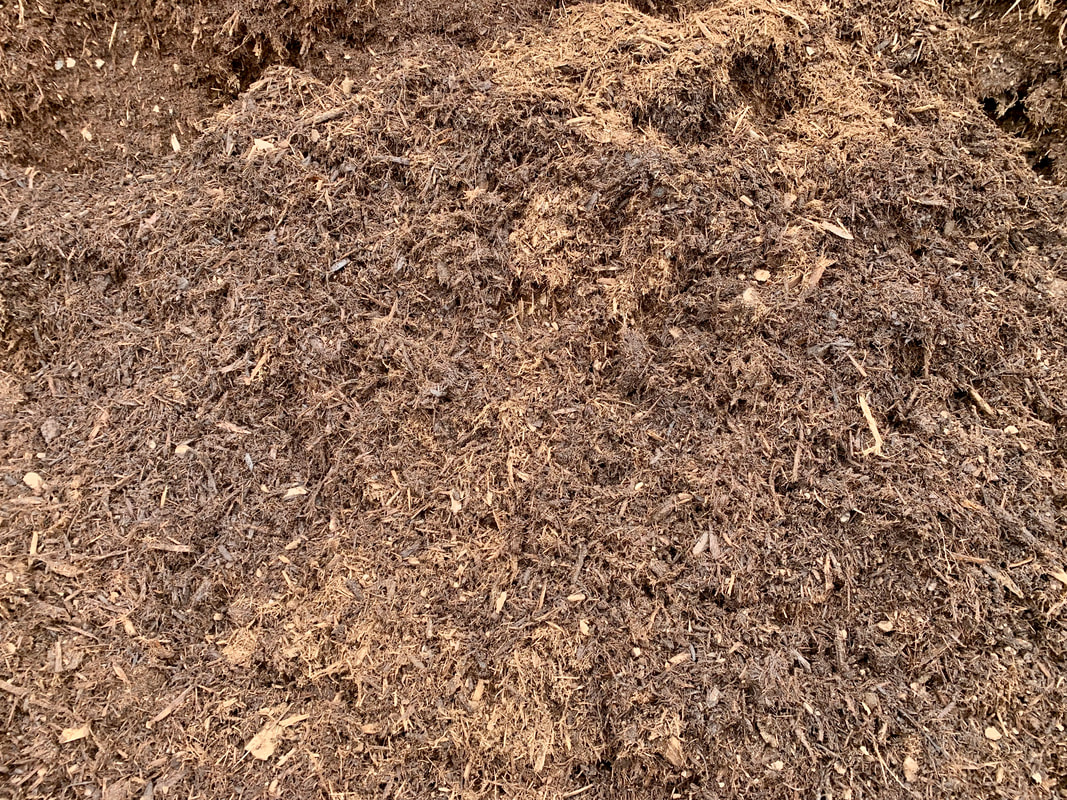
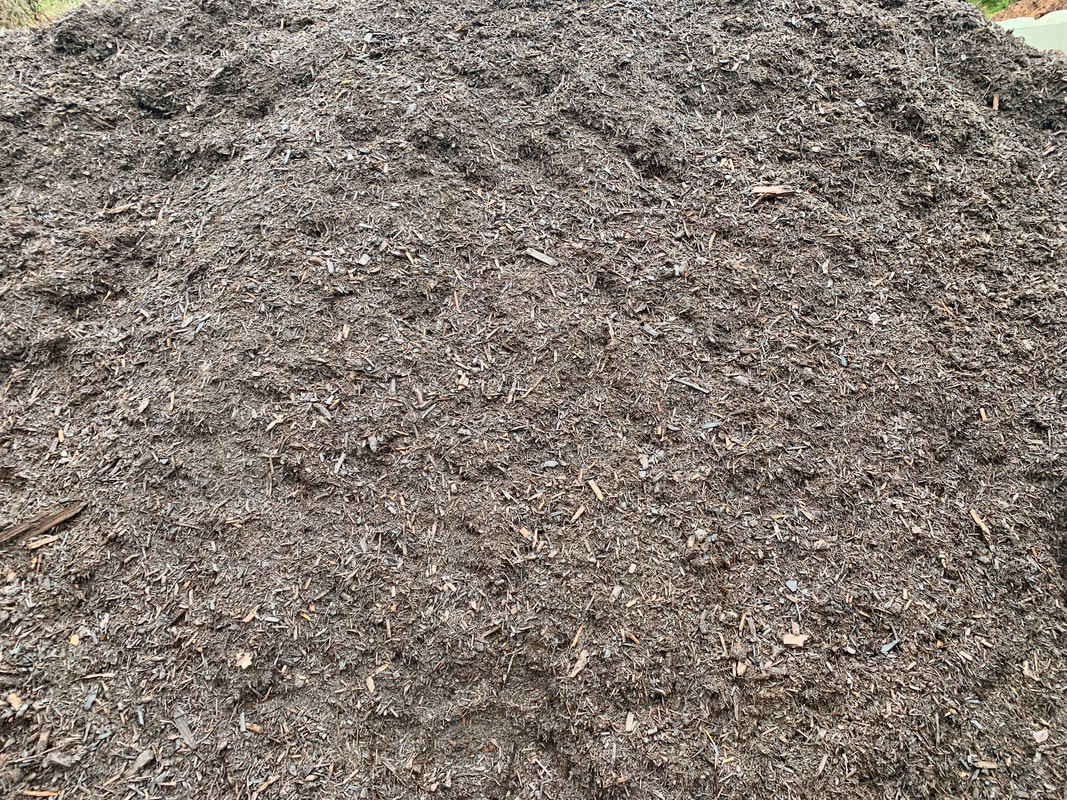
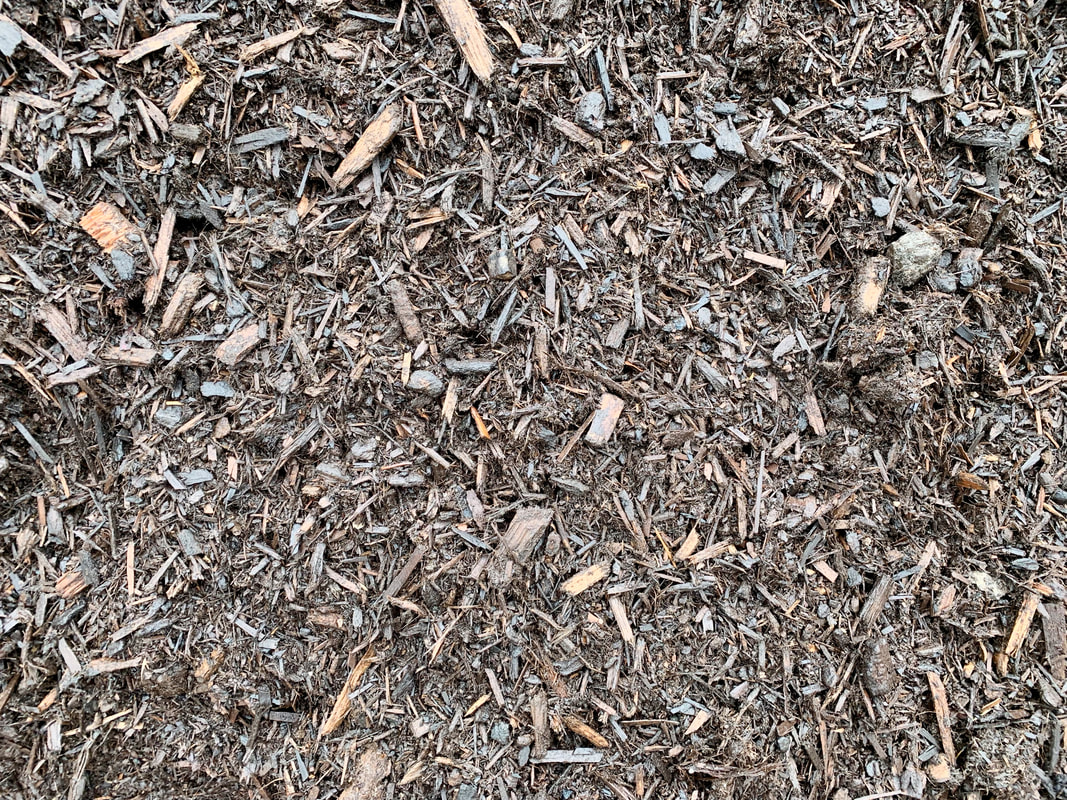
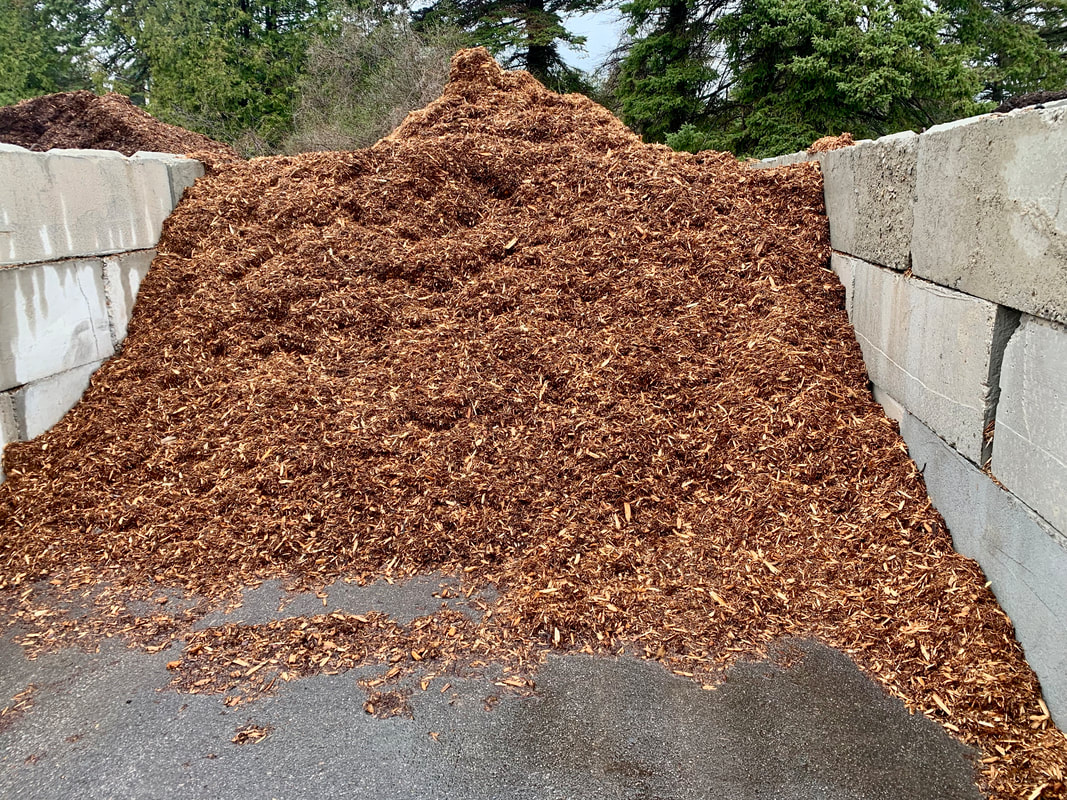
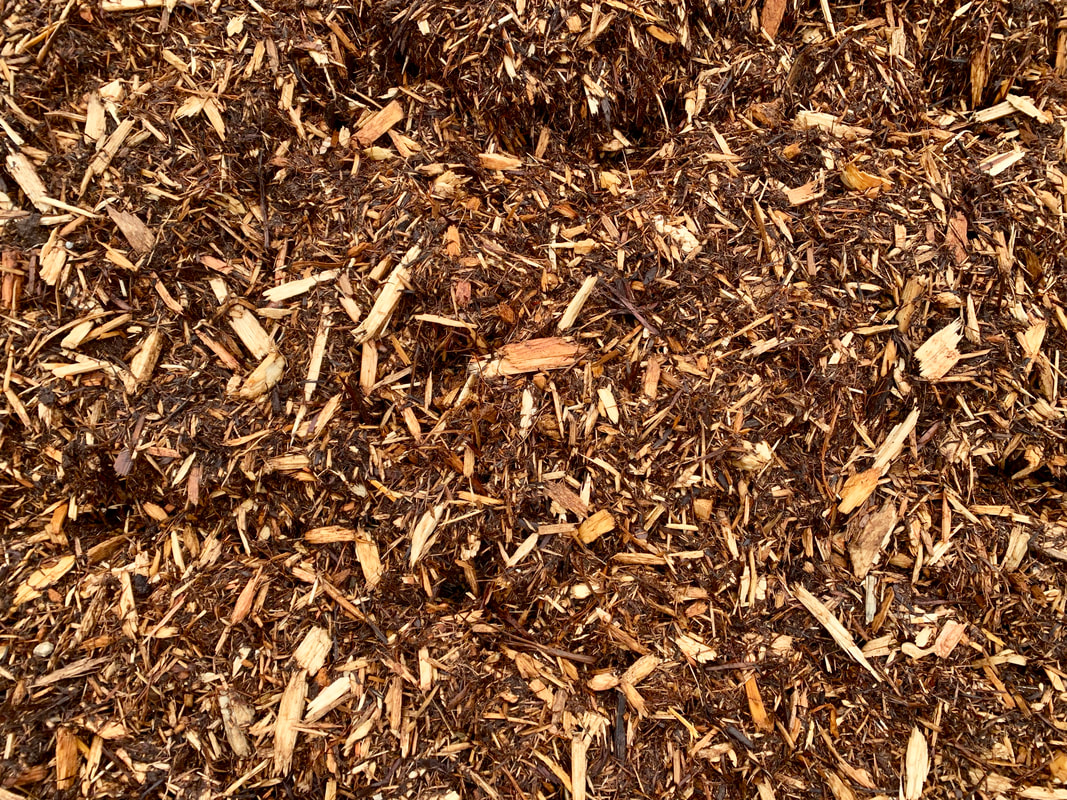
Mulch OptionsNow that you know how to properly install mulch, which type of mulch should you choose? Well, that depends a lot on your site conditions & personal preference. We've listed the most popular options below & shared our thoughts on each. Pine Bark aka Red Pine Mulch Best for naturalizing disturbed areas. Breaks down into soil faster than hardwood. Hardwood Mulch Darkens with age. Breaks down into soil slower than pine bark & black-gold. Black-Gold Mulch Aged hardwood. Natural color adds interest to landscapes. Good for naturalizing. Breaks down slower than pine but faster than hardwood. Cedar Mulch The slowest to break down. Starts out golden in color, fades to light tan. Smells great! Good for high wind areas.
There are many other mulch options available. However, we don't recommend using most of them.
Concerned about the safety of your mulch? Look for the MSC Certification logo wherever you purchase mulch. MSC (Mulch & Soil Council) Certification labels indicate which mulch & soil products are free from CCA treated wood.
|

Categories
All
Archives
July 2024
|


 RSS Feed
